Create Message Map
This guide will walk you through the process of creating a Message Map in Crysp IQ. We'll start by creating a Message Map and then do the Source to Target mapping in the next section. Follow the instructions below to learn how to manage Maps in Crysp IQ.
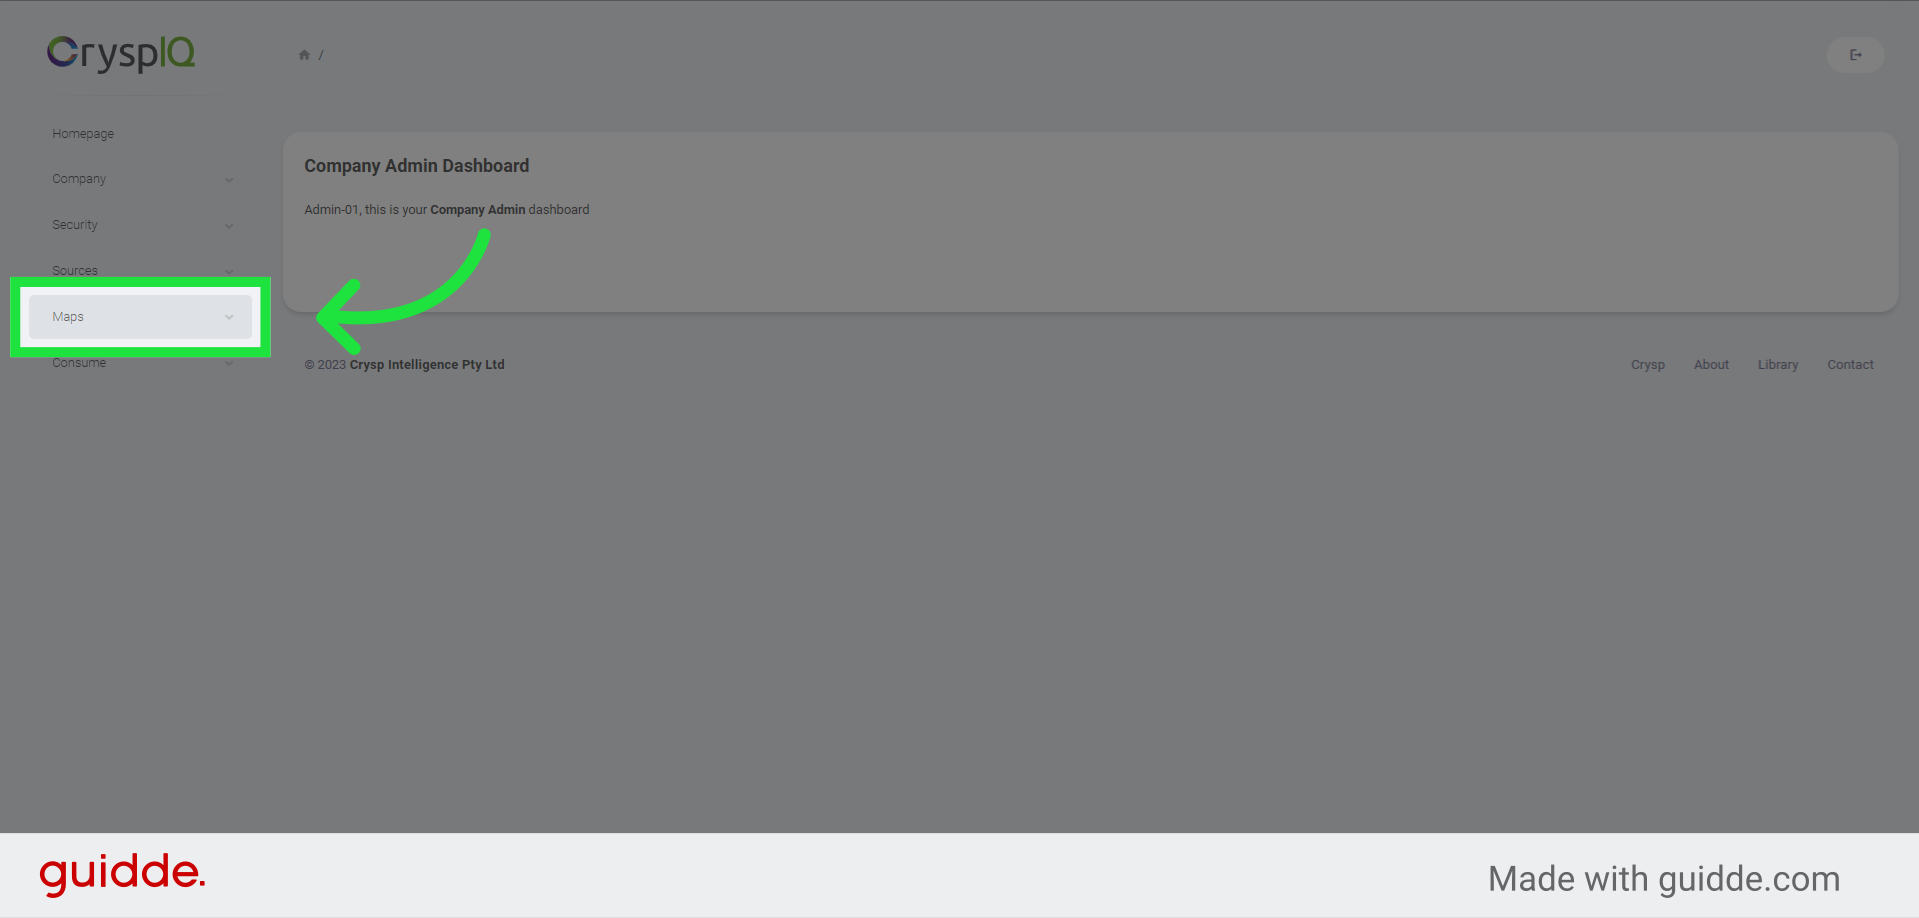
1. Click "Maps"
To start, expand the "Maps" menu item
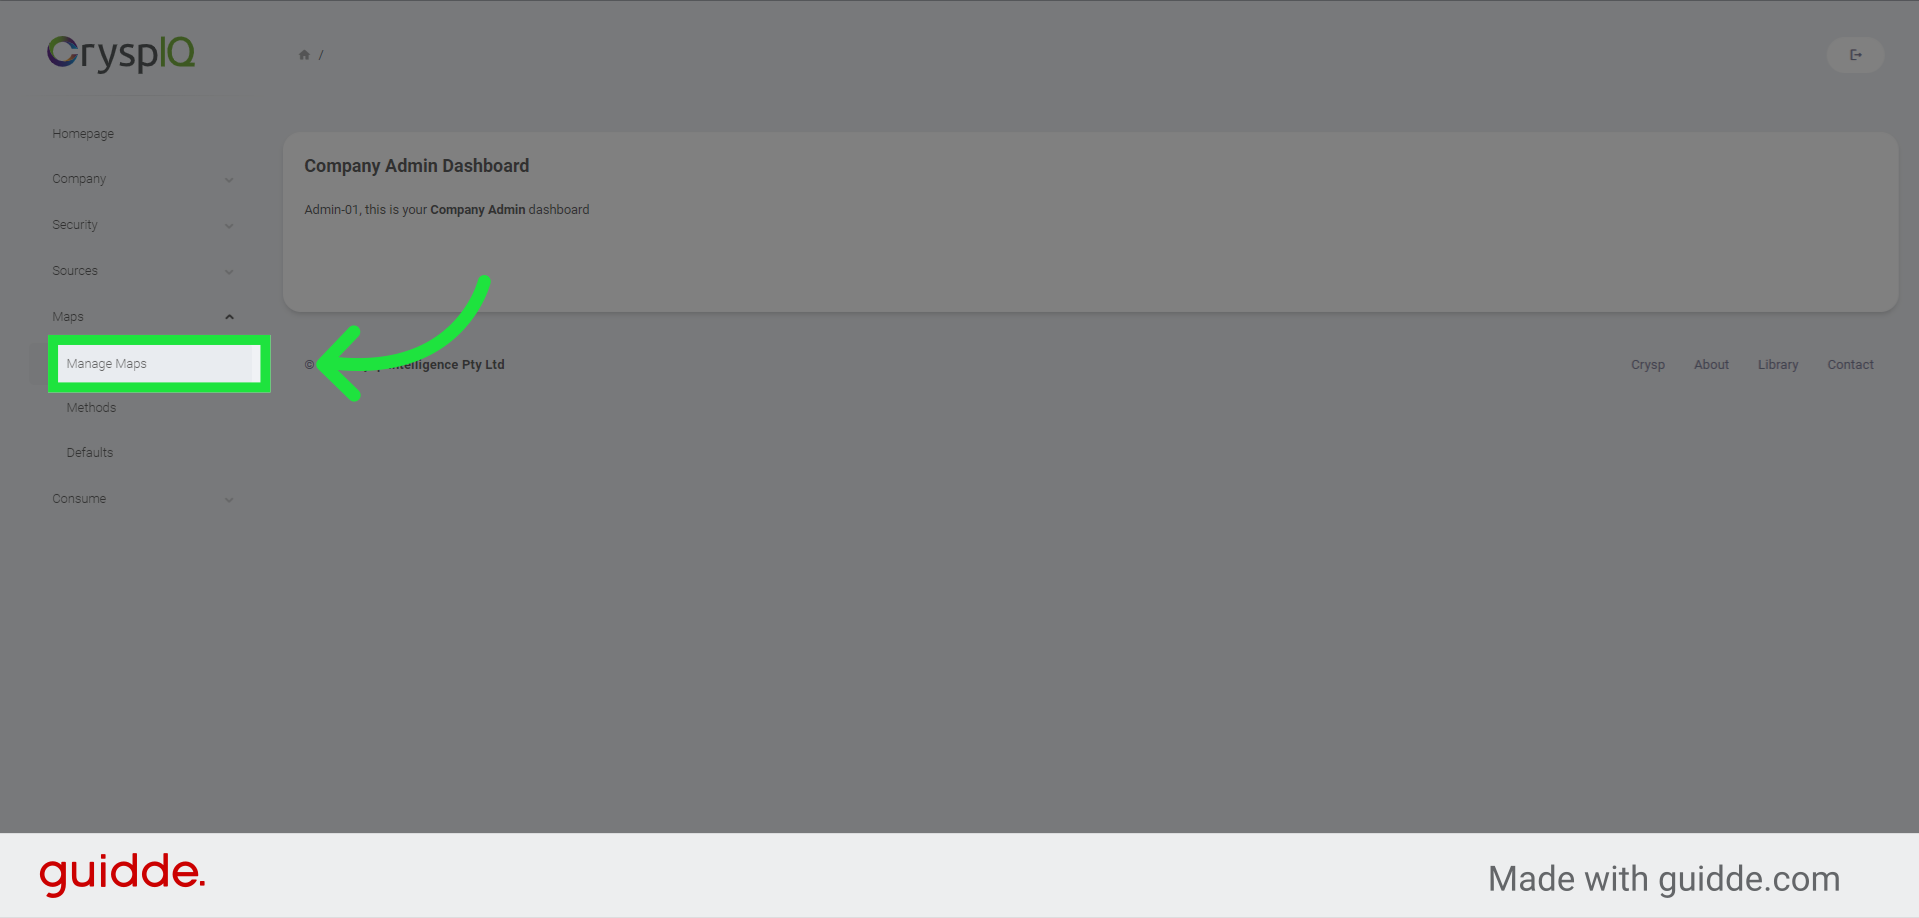
2. Select the "Manage Maps" menu option
Next, click the "Manage Maps" option.
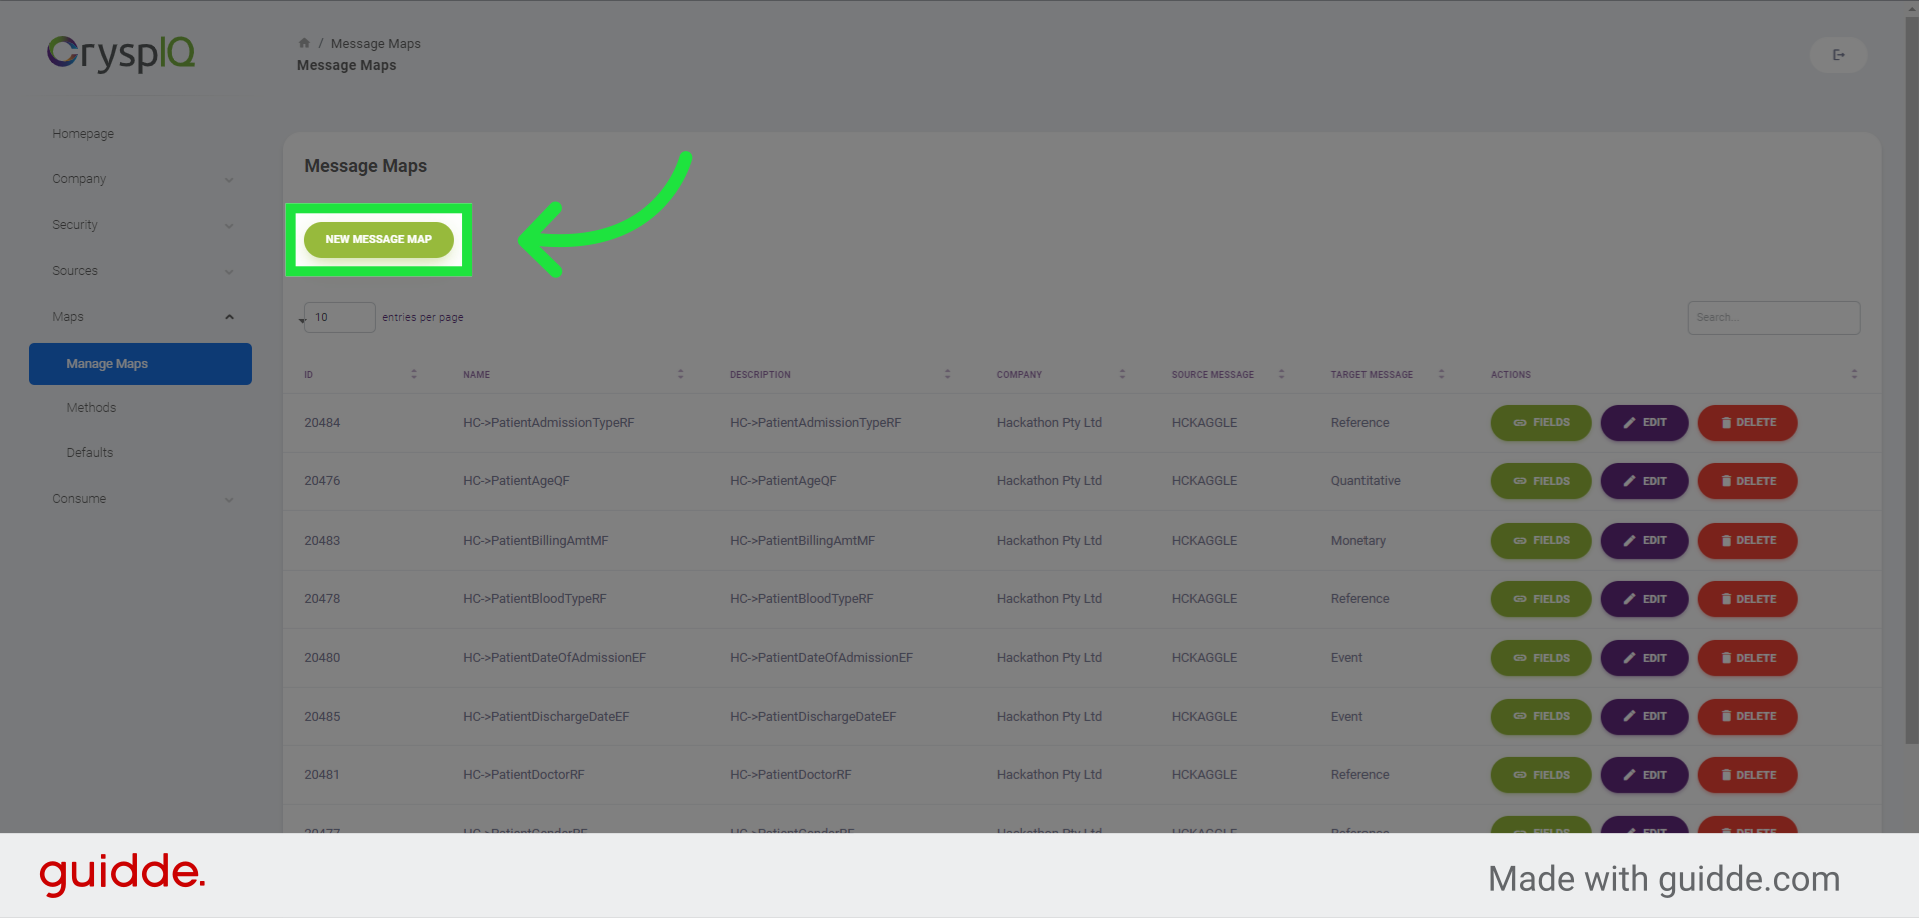
3. Create a new Message Map
Now click the "New Message Map" button.
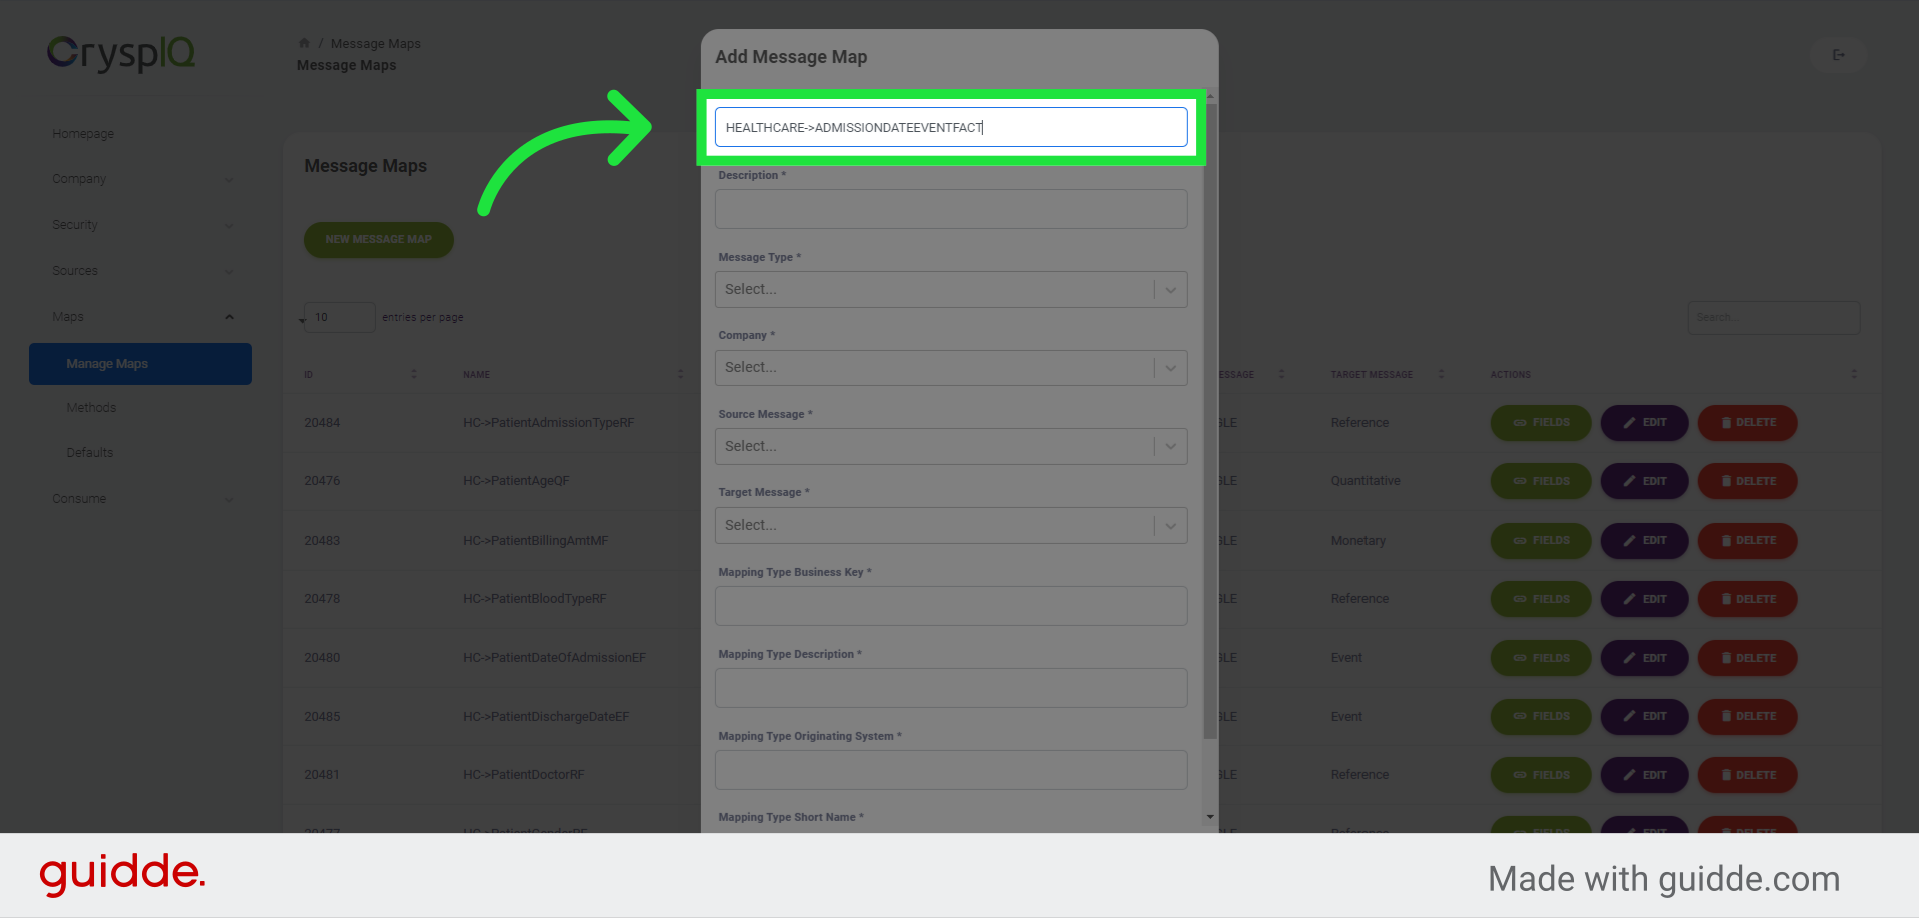
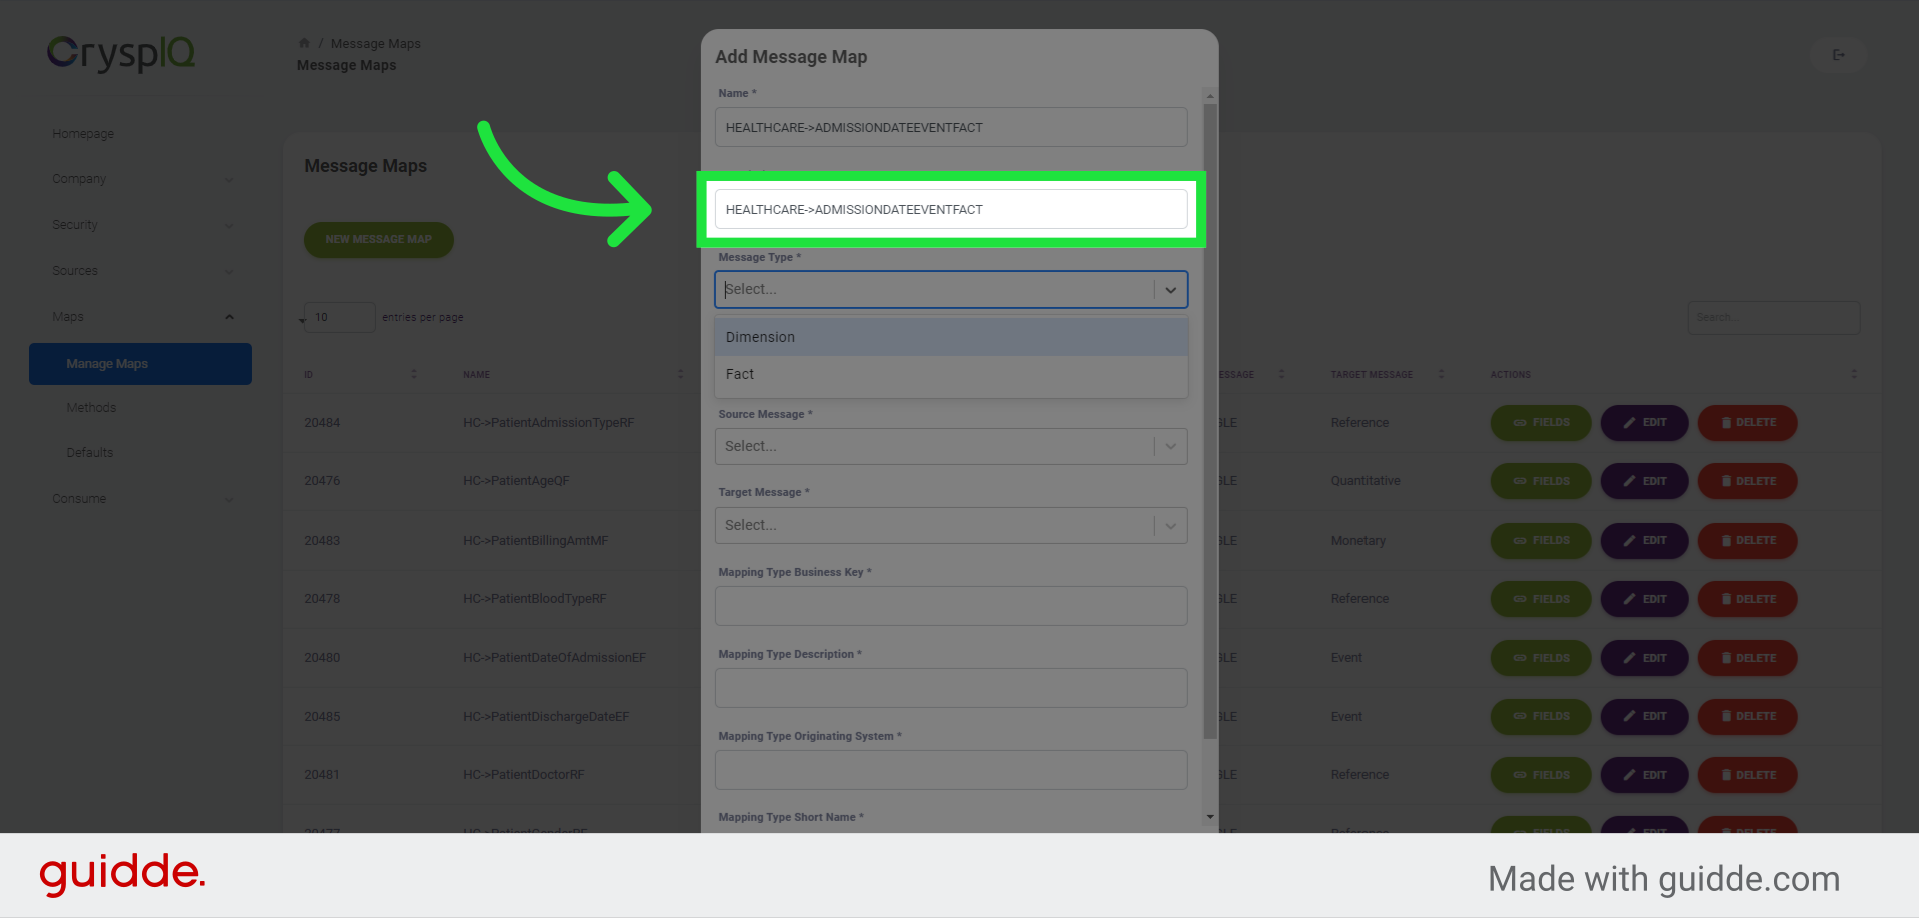
4. Enter a Message Map name
A form is shown where you need to provide all of the new Message Map details. Start by entering a Message Map name. Remember that the name and other metadata fields become very important in identifying data and data lineage after creation, so create names and descriptions that will aid users in understanding the Message Map. It will be useful to create standard naming conventions for your organisation to manage Message Map metadata.
5. Enter a Message Map Description
Next, enter a Message Map Description
6. Select the Mapping type
Now you have to select the mapping type. In Crysp IQ, there are two types of mappings: Dimension, and Fact. The dimension mapping type refers to dimensions like Account, Asset, Entity, Location, Product, and Service. The fact mapping type refers to facts like Event, GIS, Monetary, Percentile, Quantitative, Reference, and Unstructured.

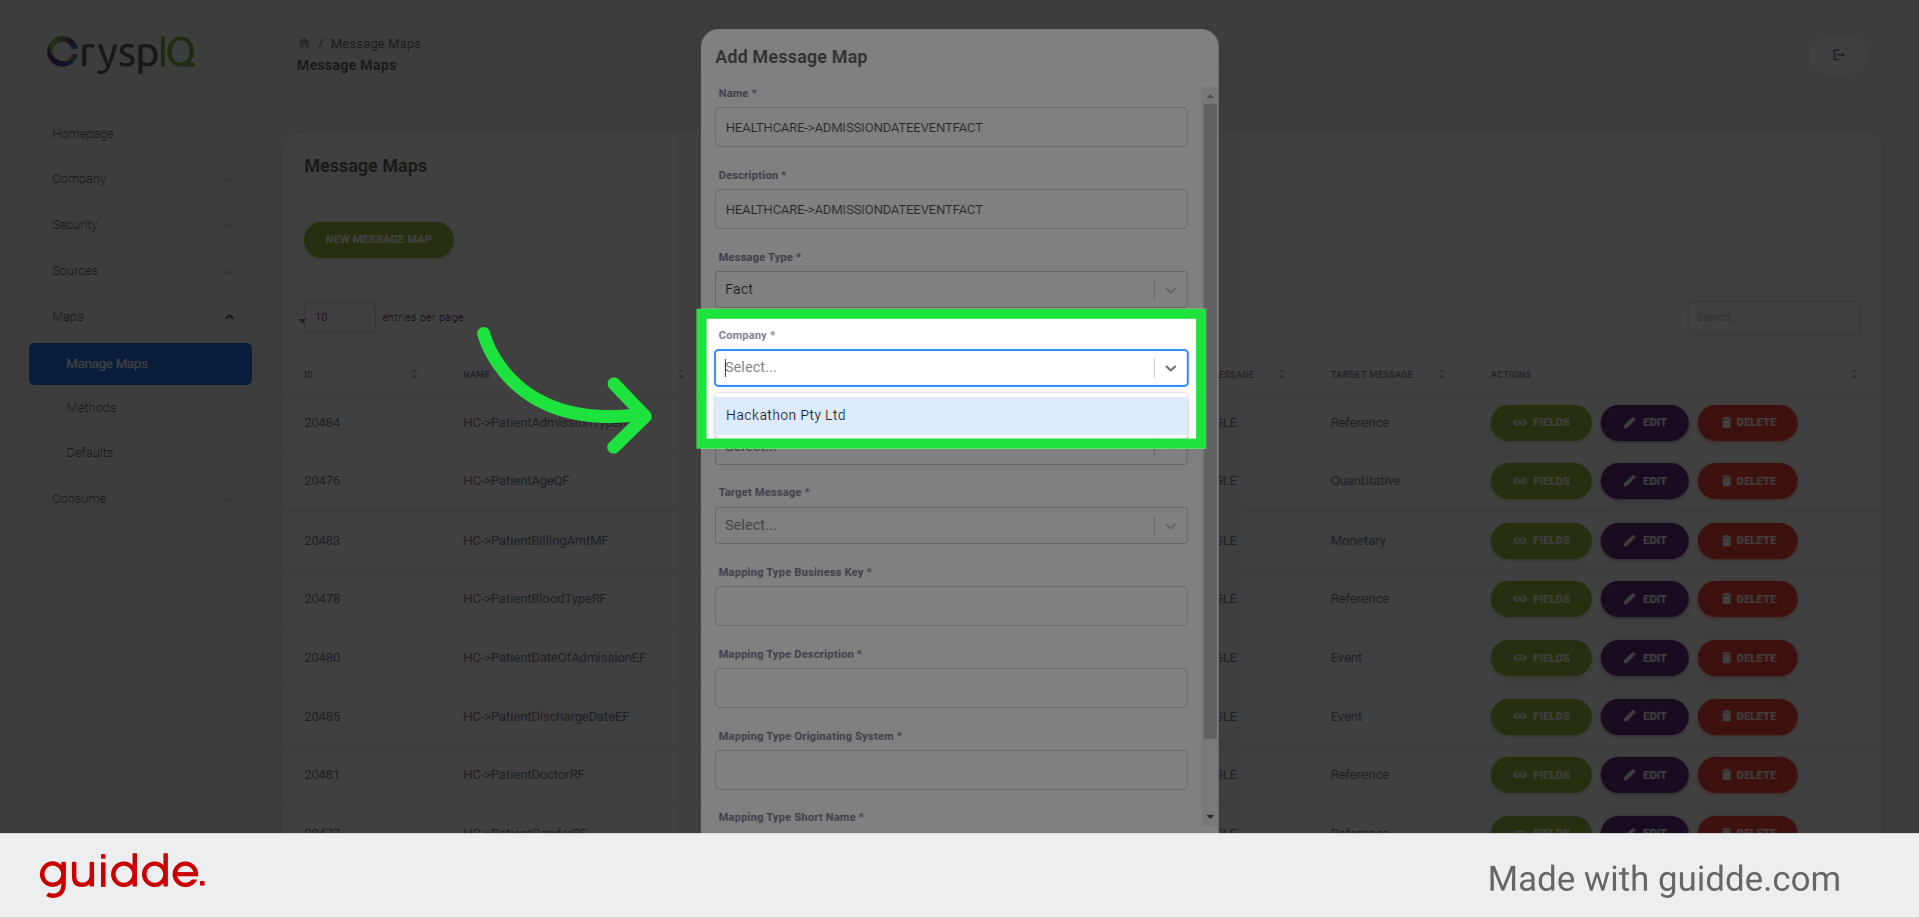
7. Select the company that the Mapping type relates to
Now select your company from the dropdown list.
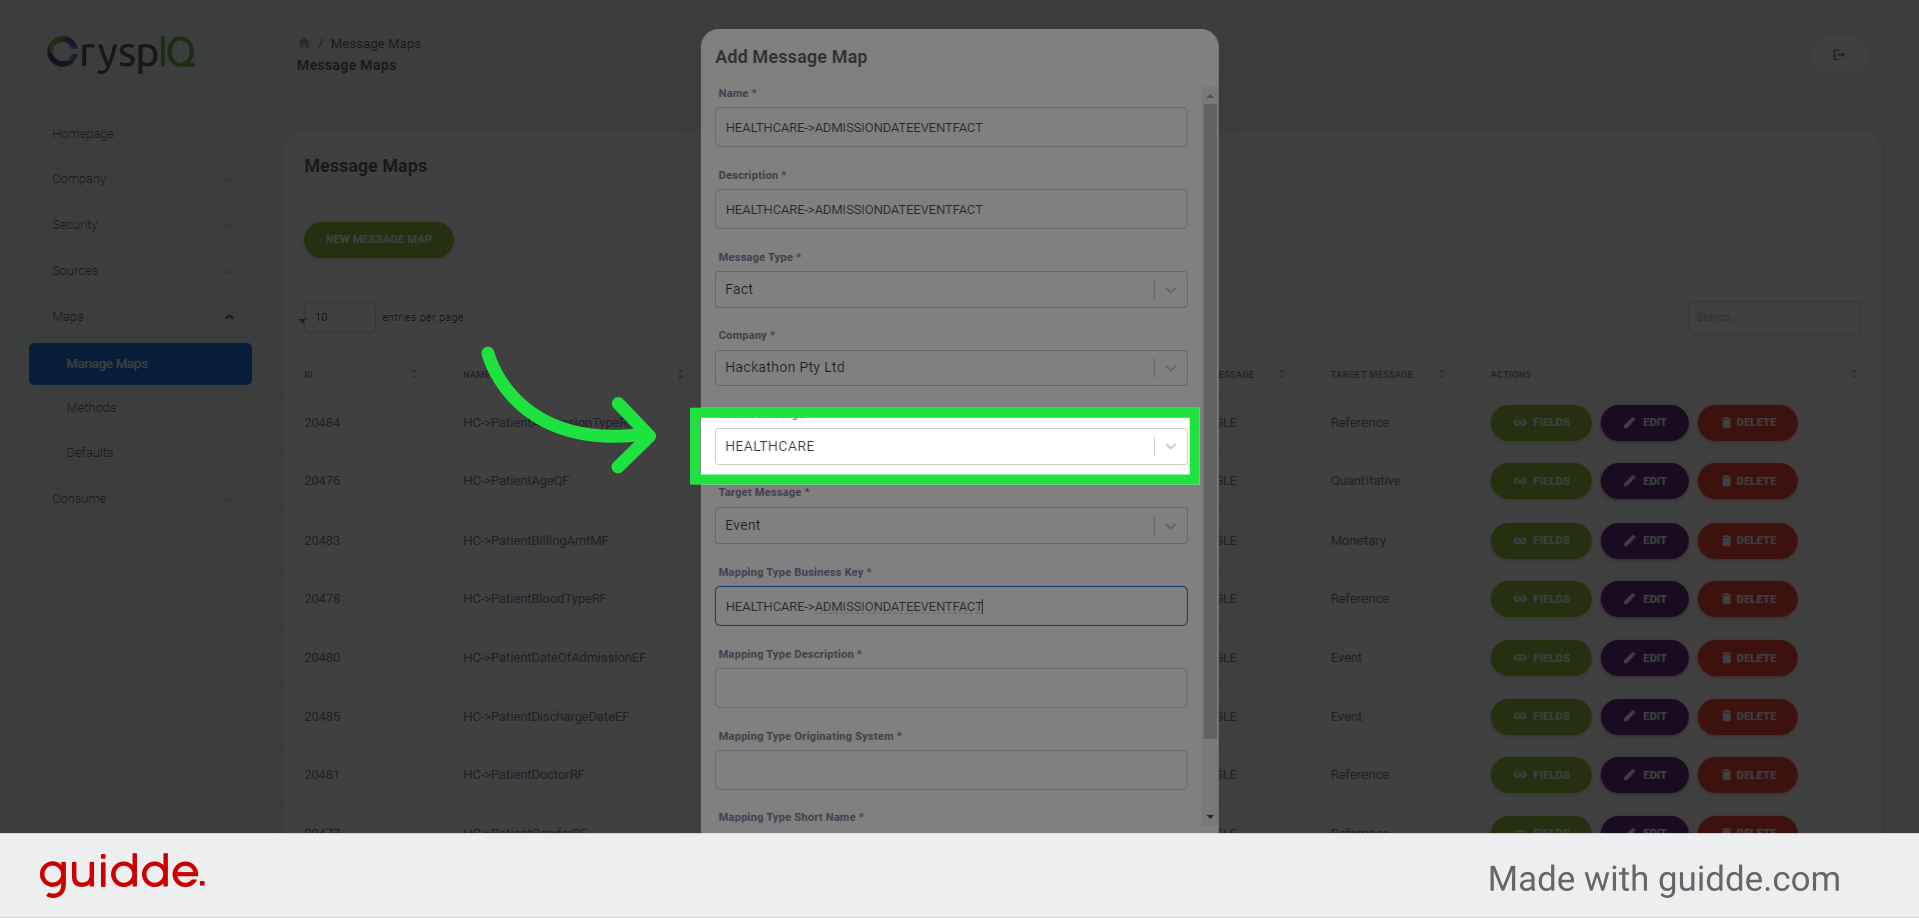
8. Select a Source Message
Next select a Source Message from the dropdown list. For this example we'll use the healthcare dataset we created in the previous section.
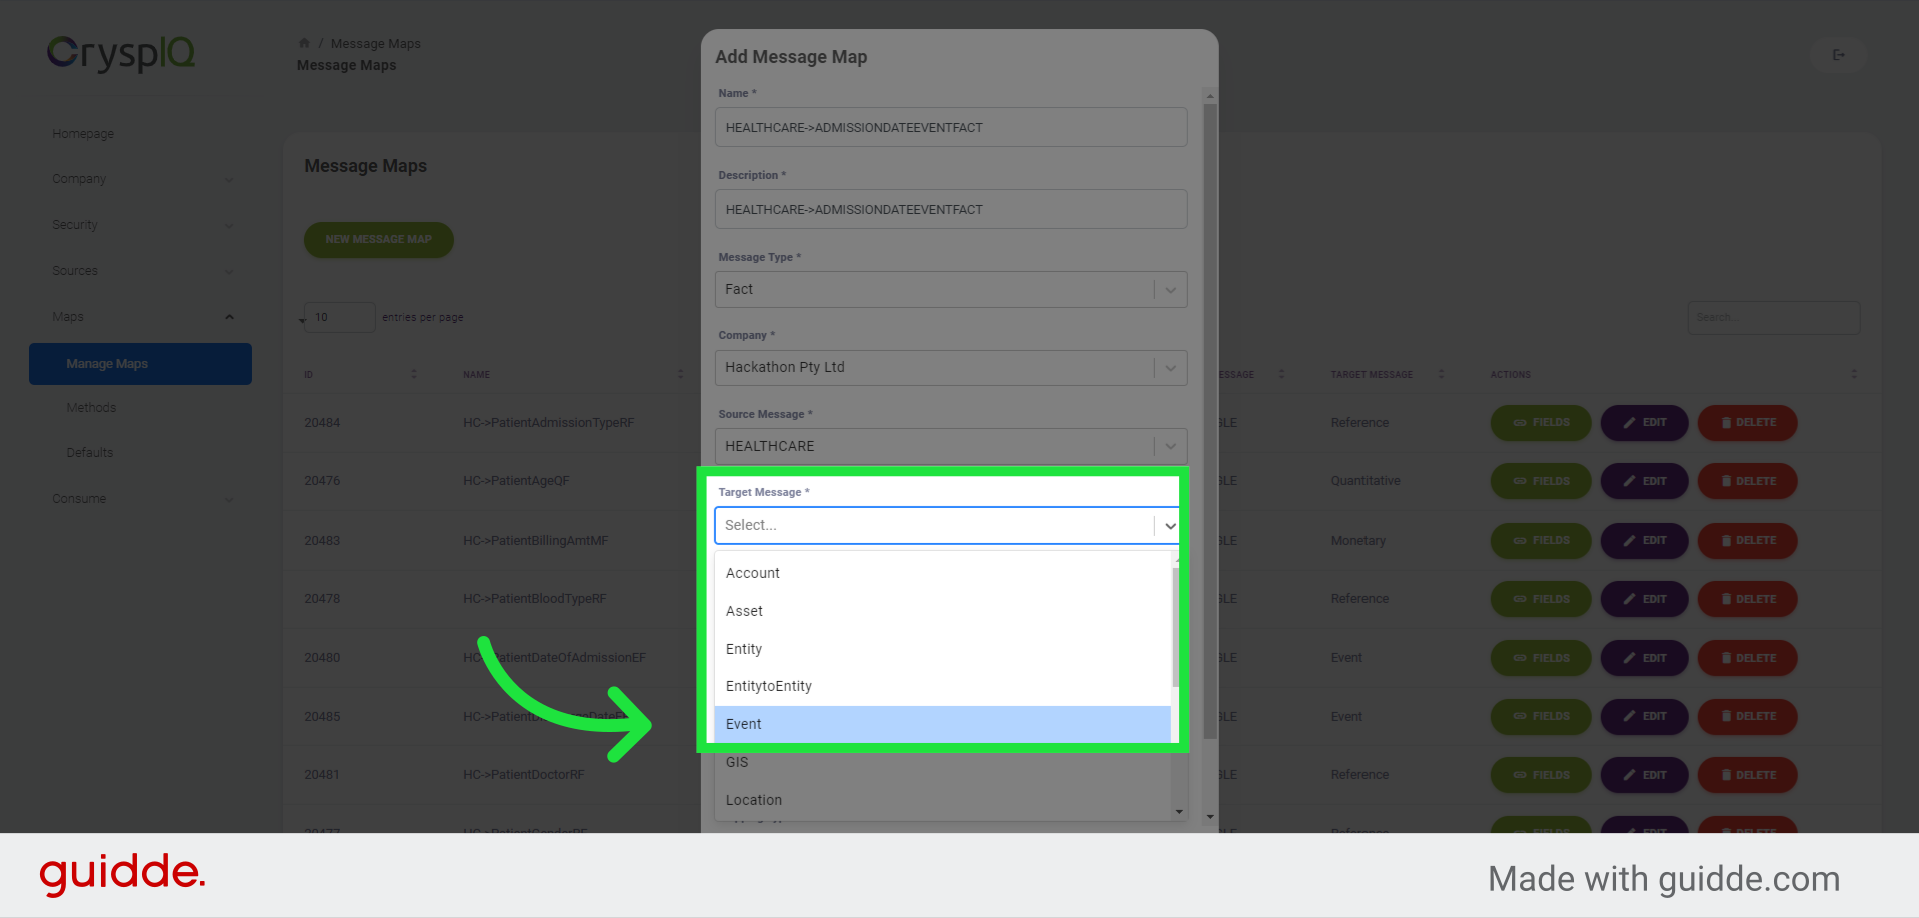
9. Select the Target Message
Next, select a Target Message from the dropdown list. This is the destination in the Crysp IQ schema where your data will be stored. In this example, we will select the "Event" Target Message, because we want to map the "Admission Date" field in the Healthcare data set, to the Event Fact type.
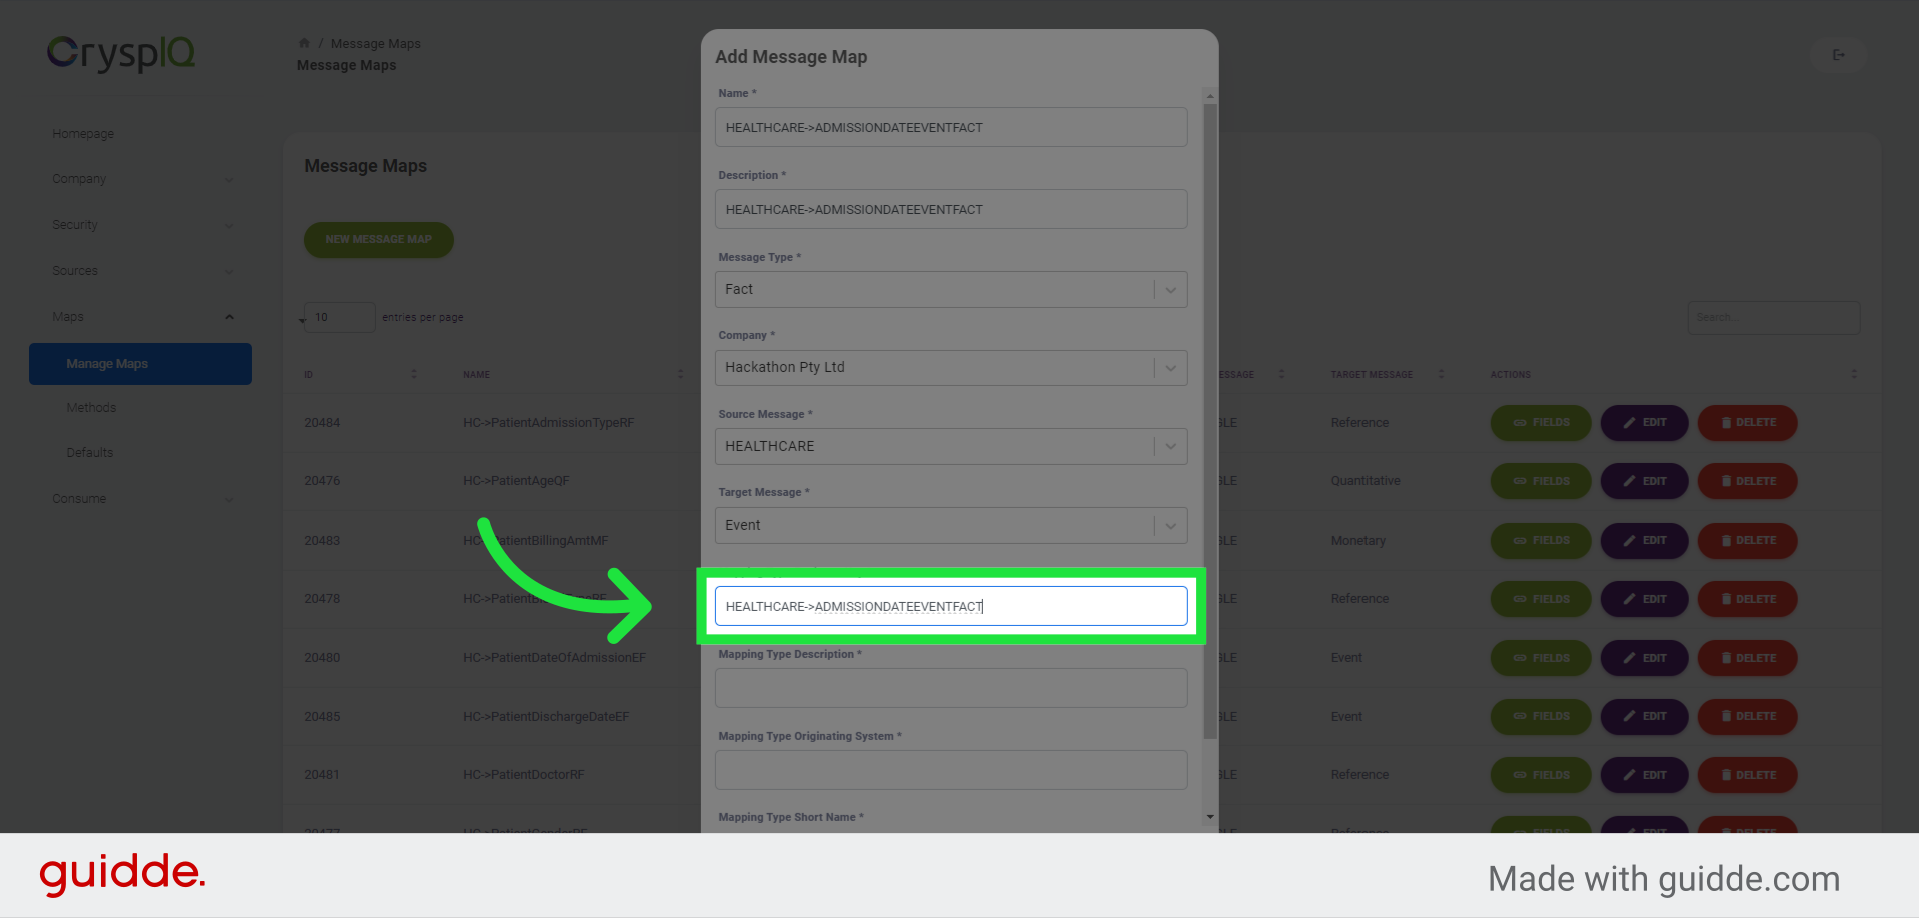
10. Enter a mapping type Business Key
Now enter a mapping type Business Key. This is the unique key identifying the message map in Crysp IQ.
11. Enter a description for the Mapping Type
Now enter a description for the Mapping Type
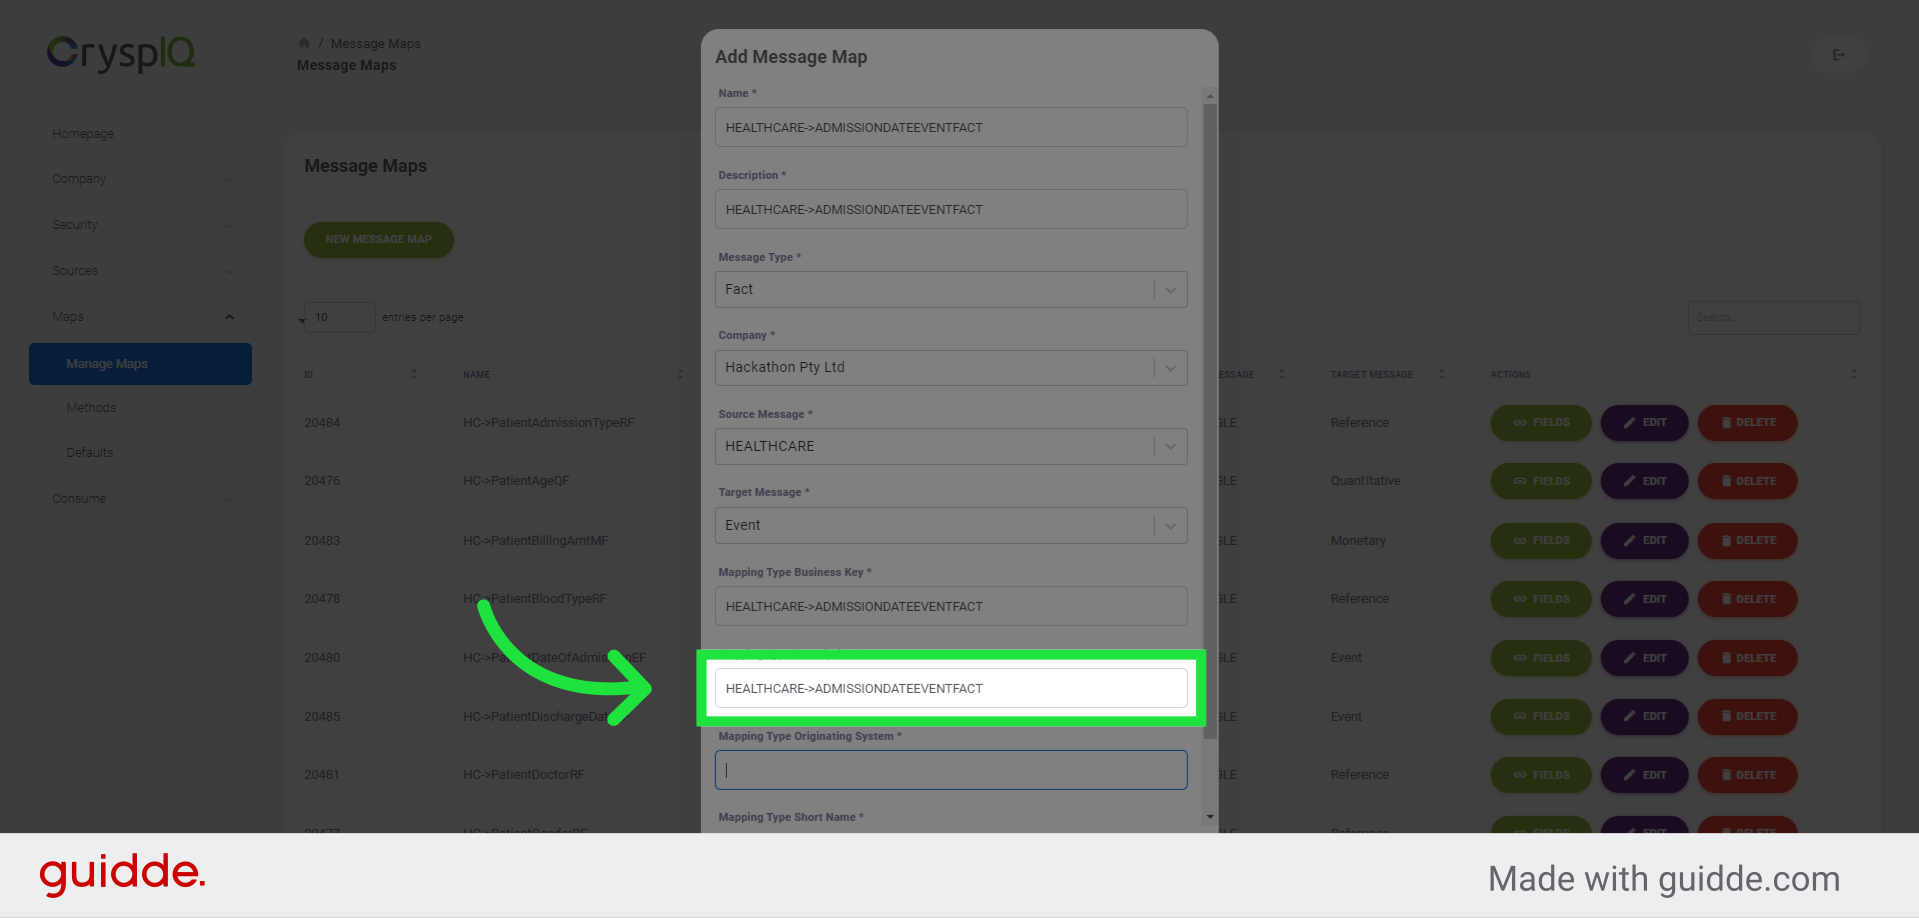
12. Enter the origin of the Mapping Type
Then, enter the origin of the Mapping Type.

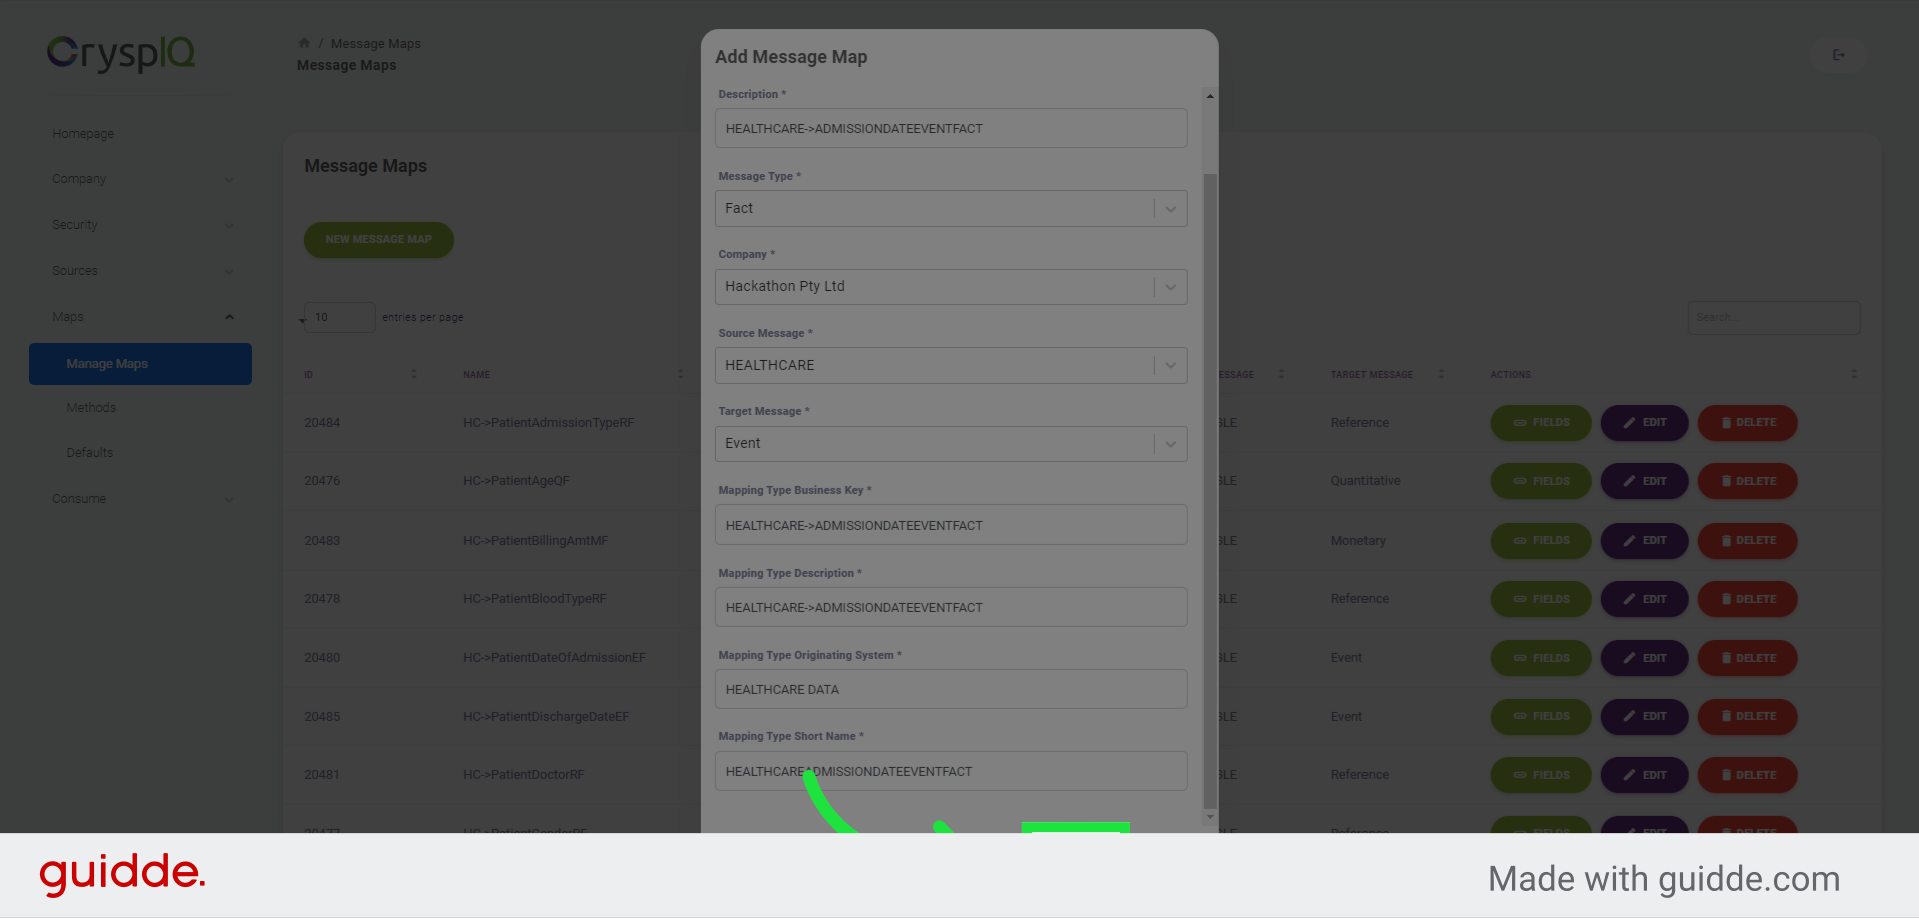
13. Enter a short name for the Mapping Type
The last field to complete is the short name for the Message Map. Because the mapping type names may be long, you have the option to add a short name for the Message Map.

14. Click "Save" to create the Message Map
Finally, click "Save" to create the Message Map.
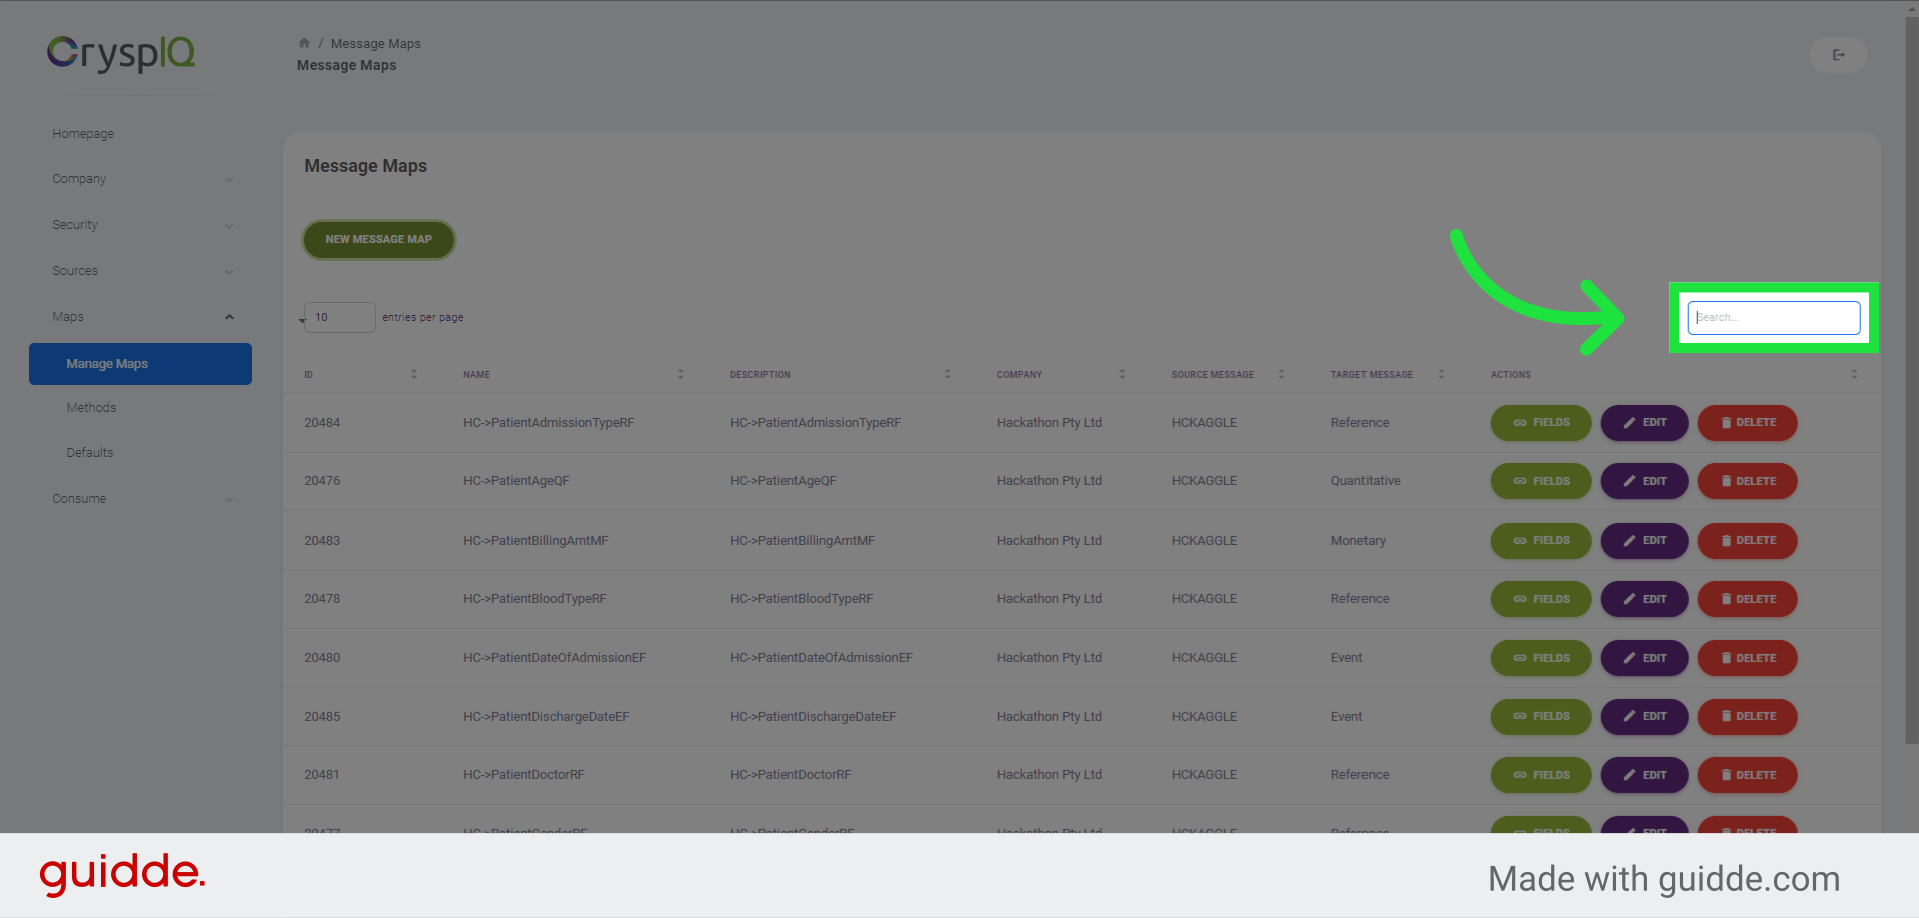
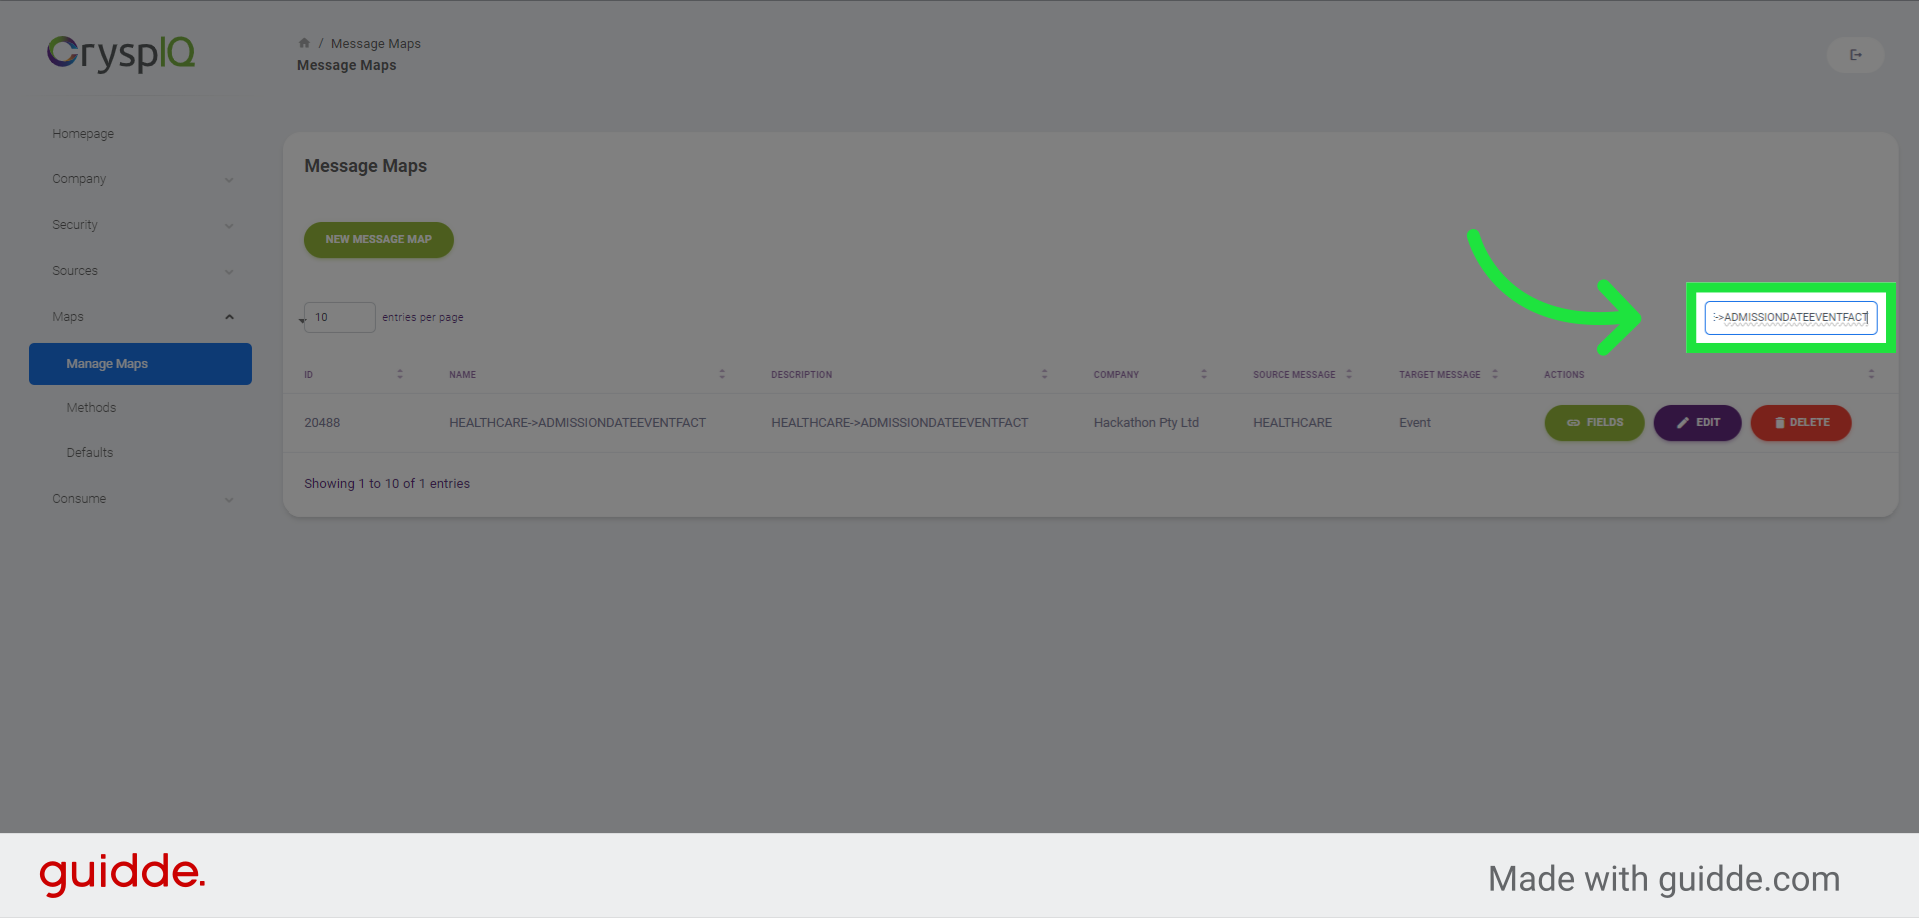
15. Find Message Maps
To find a specific Message Map, type search text into the Search text box in the top right part of the page.
16. Enter search text
Enter "Healthcare" to start the search. The list of message maps will be filtered based on your input.
This guide covered the process of creating a Message Map in Crysp IQ.