Manage Defaults
This guide will walk you through the steps for viewing, creating, and editing Defaults in Crysp IQ. The function and purpose of a Default is to create a default value for a field mapping where required.
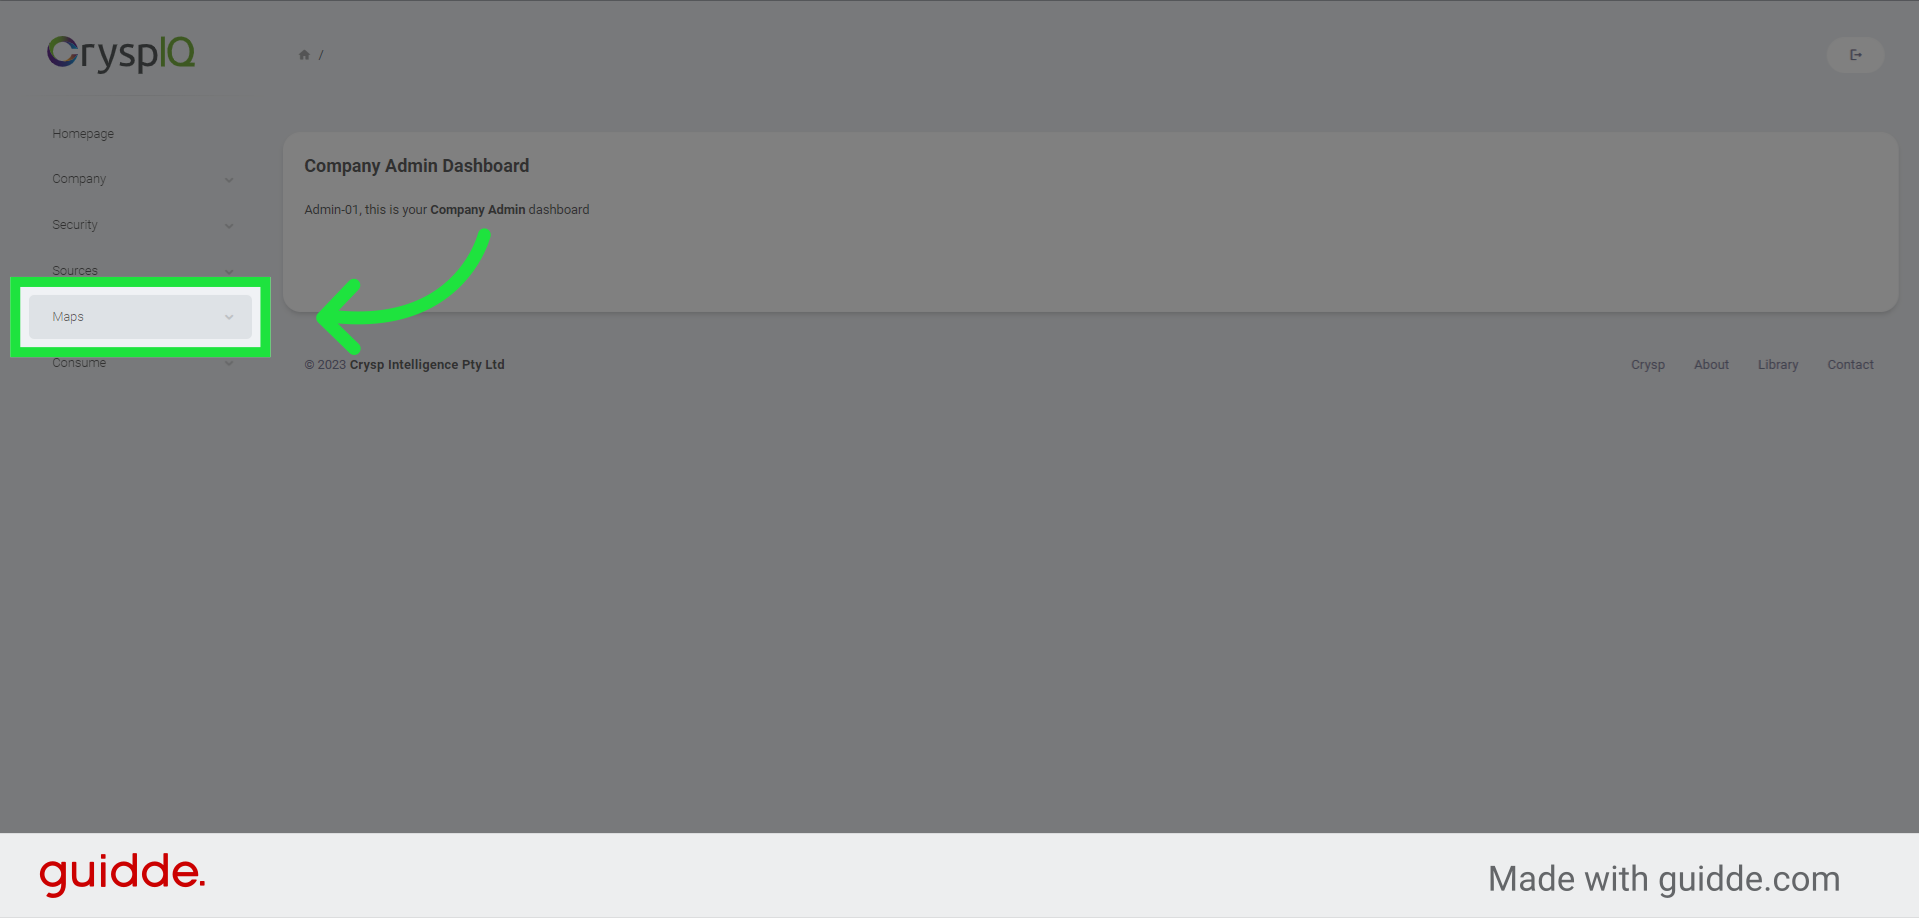
1. Click "Maps"
Expand the "Maps" menu
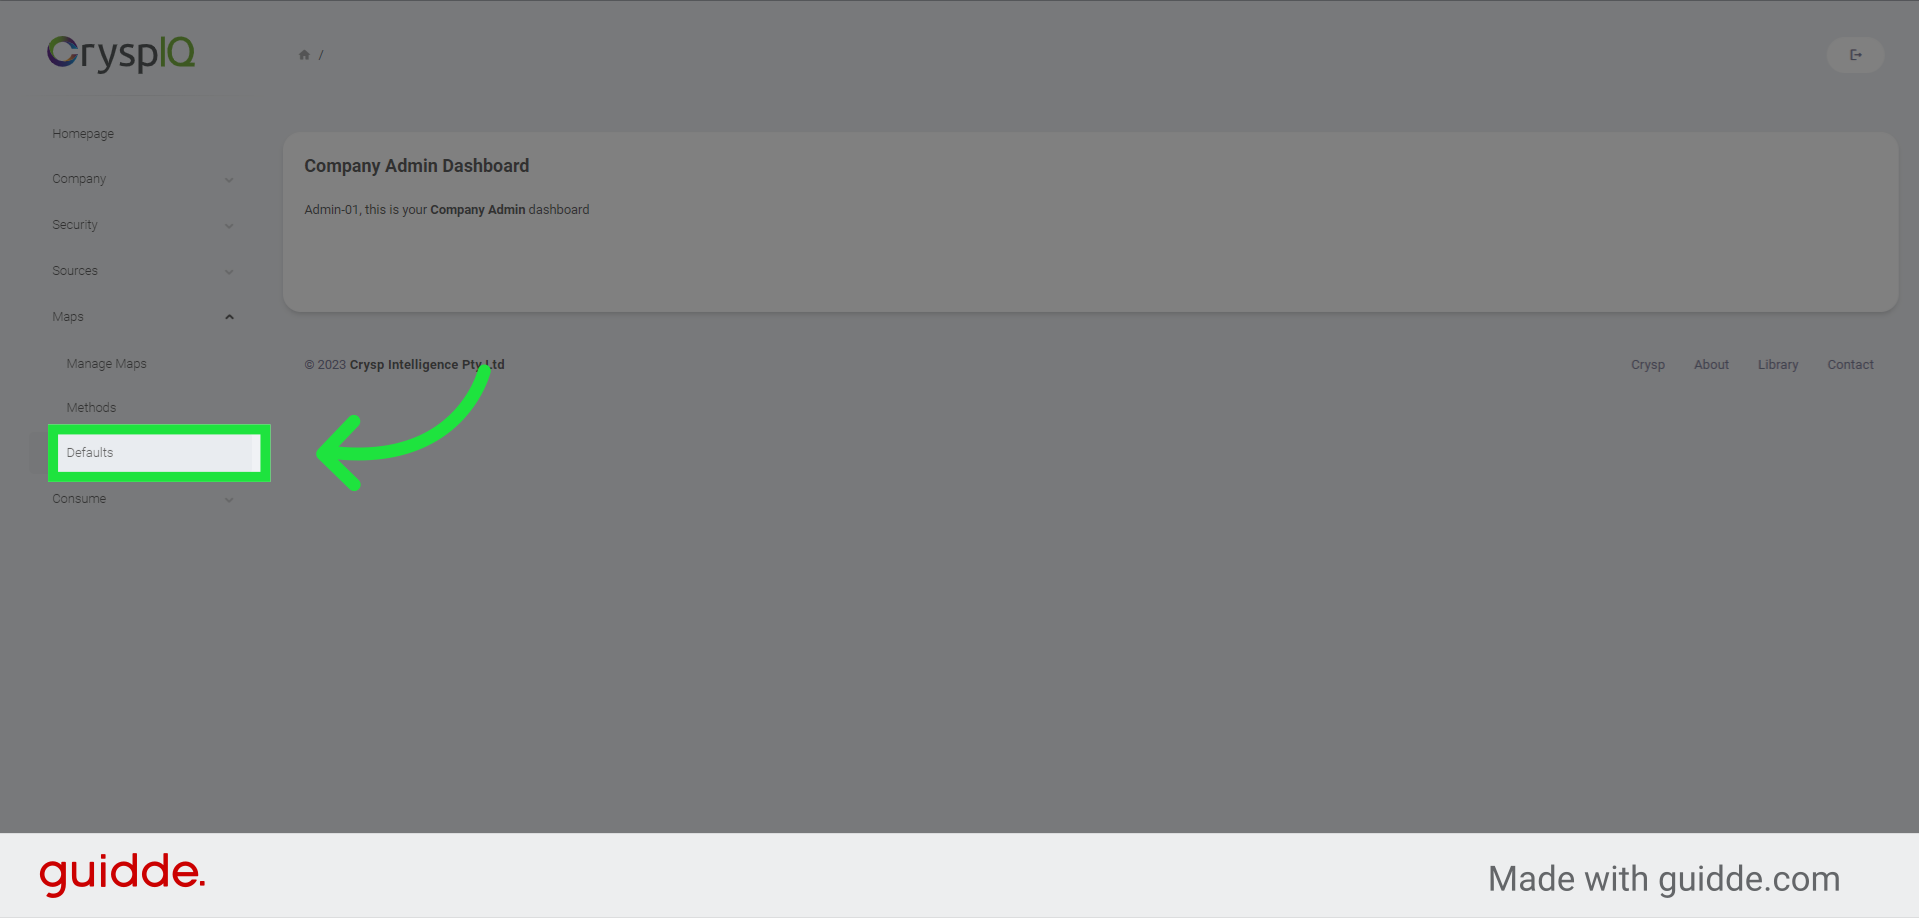
2. Click "Defaults"
Navigate to "Defaults"
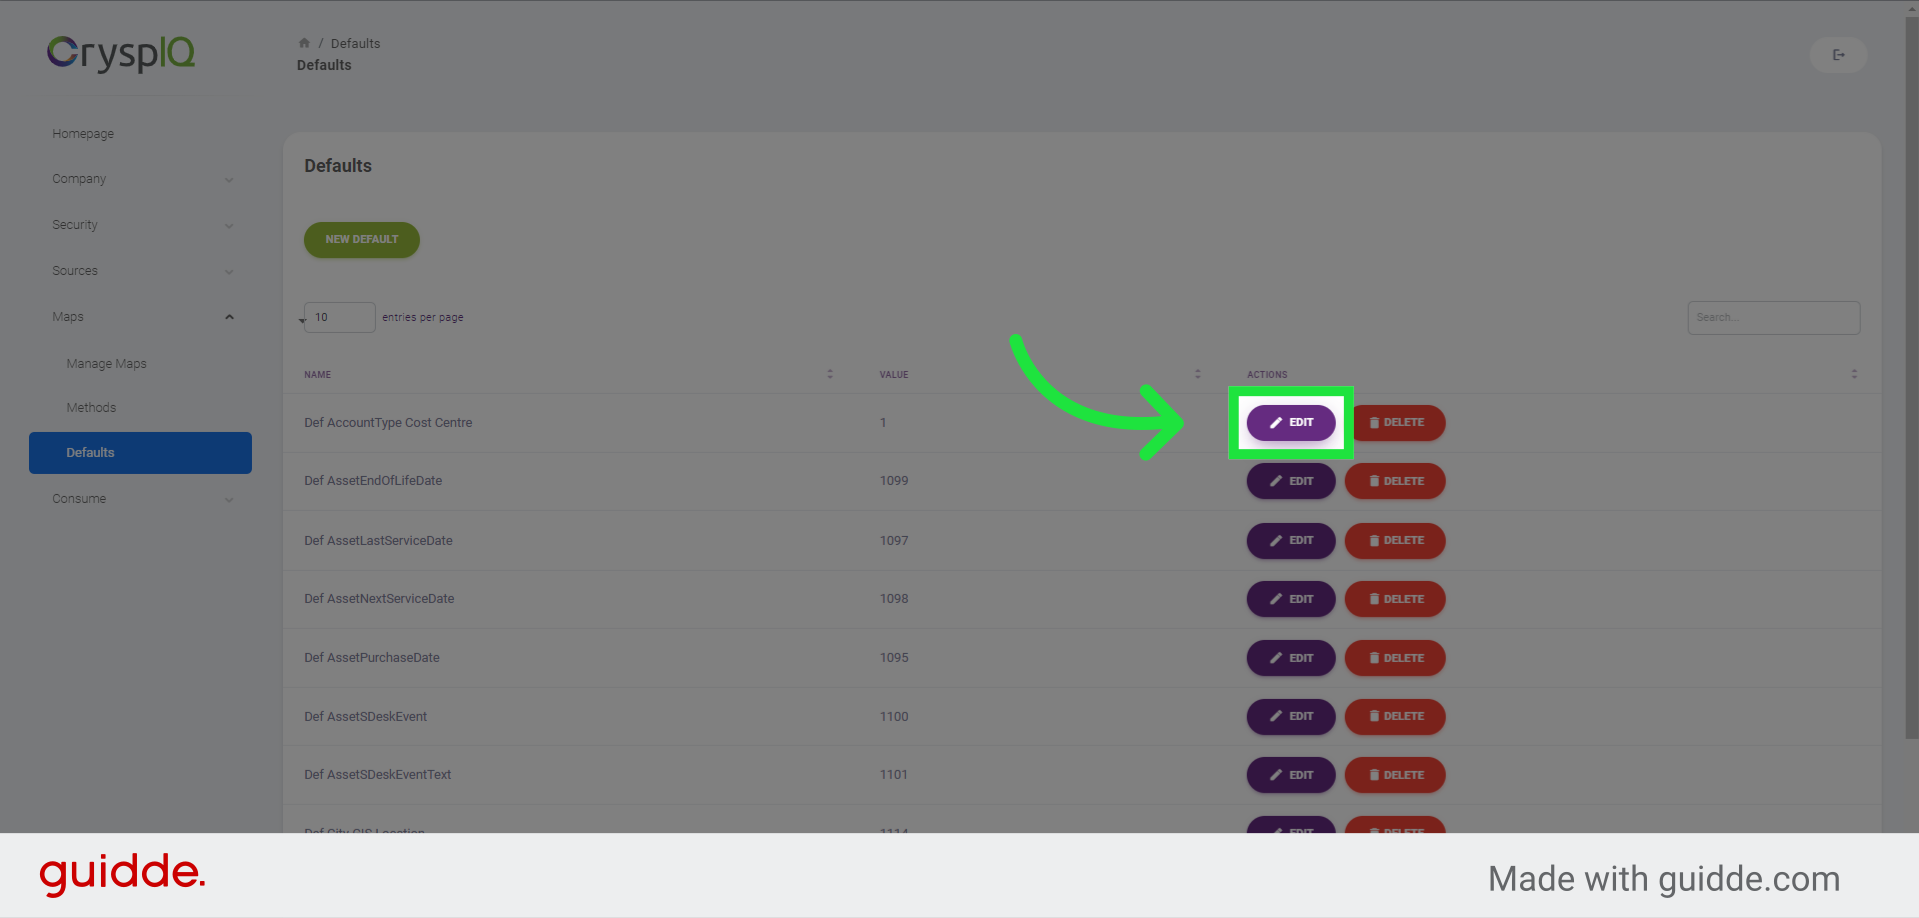
3. Click "Edit"
To edit an existing default, click on the "edit" button in the same row as the Default.
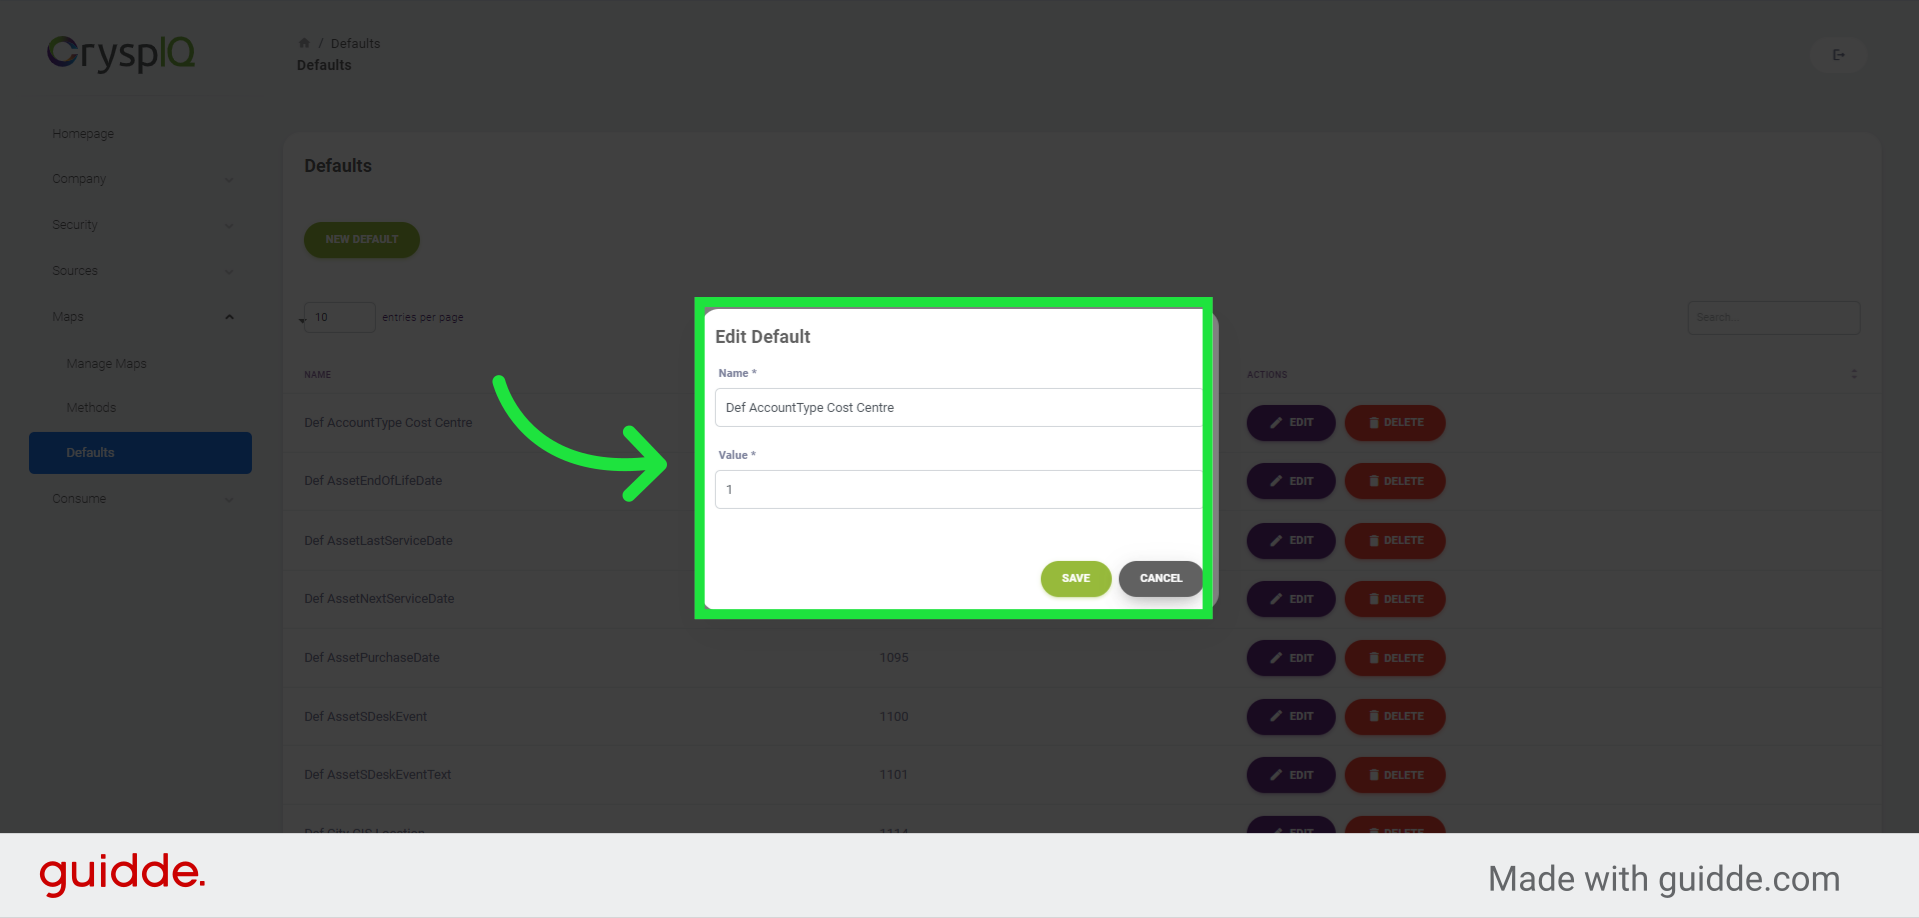
4. Existing Default settings
You are able to edit the default name and value, and then save your changes. You can also click cancel to close the window and ignore changes.
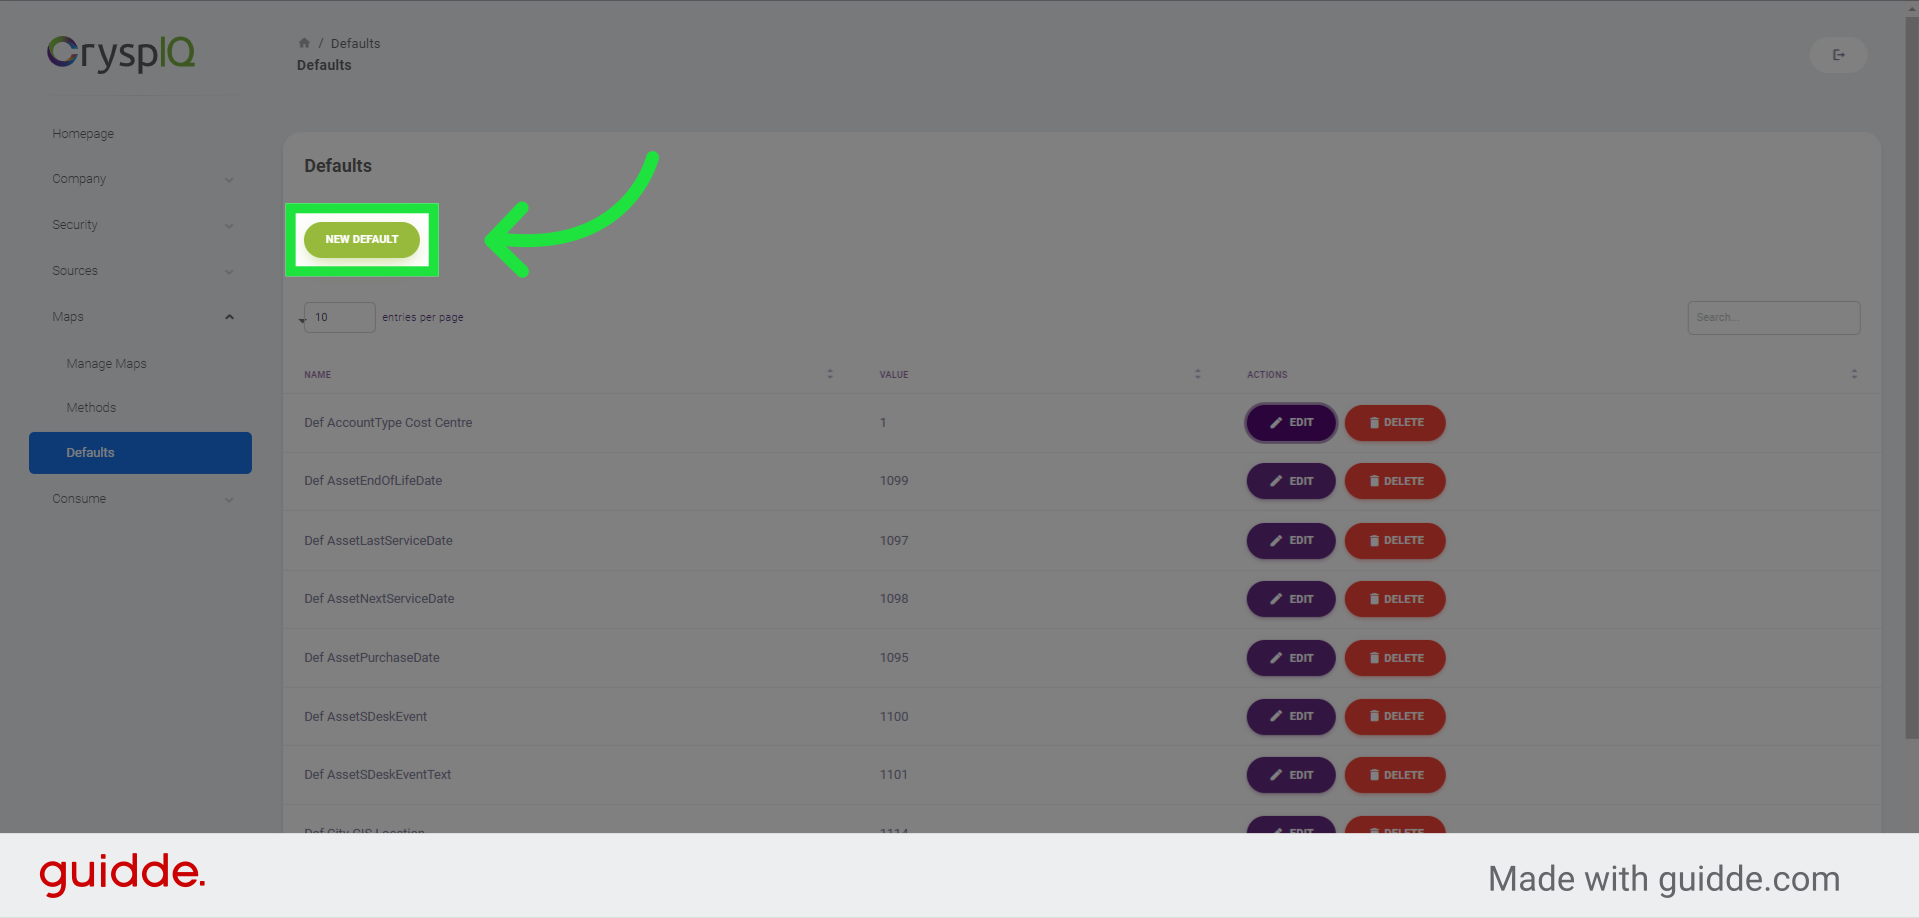
5. Create a new Default
To create a new Default, click on the "New Default" button.
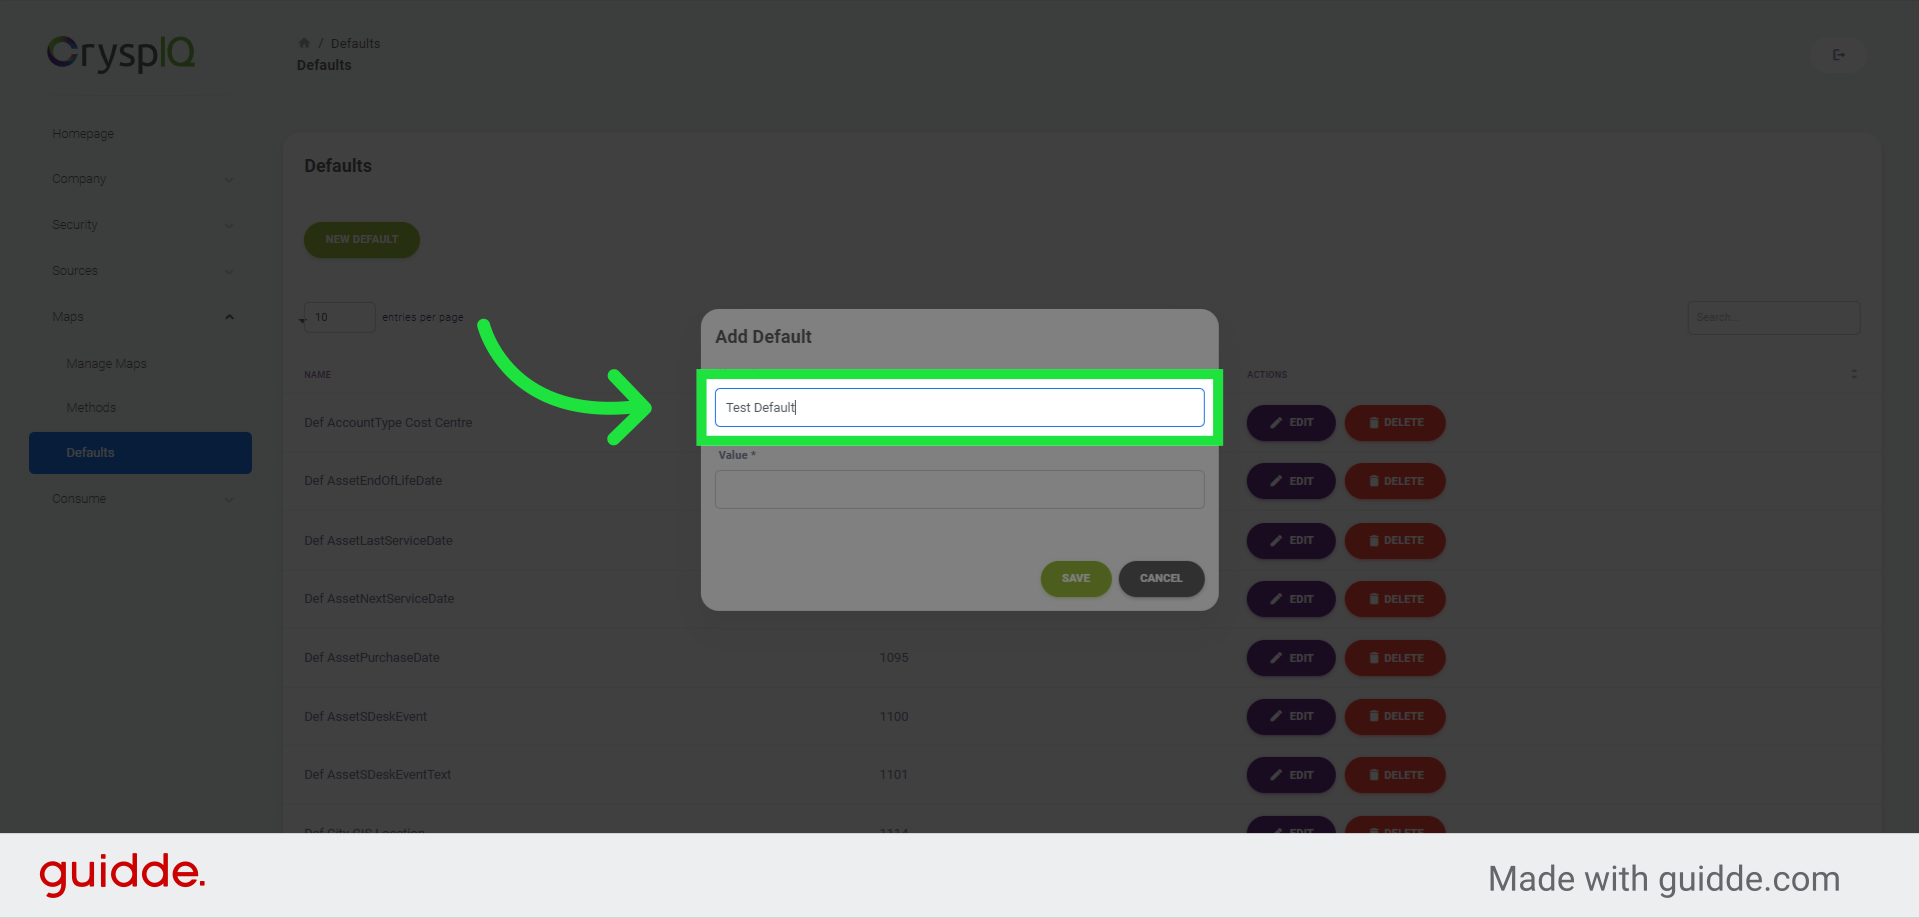
6. Enter a name for the Default
To create a new Default, first enter a name for the Default
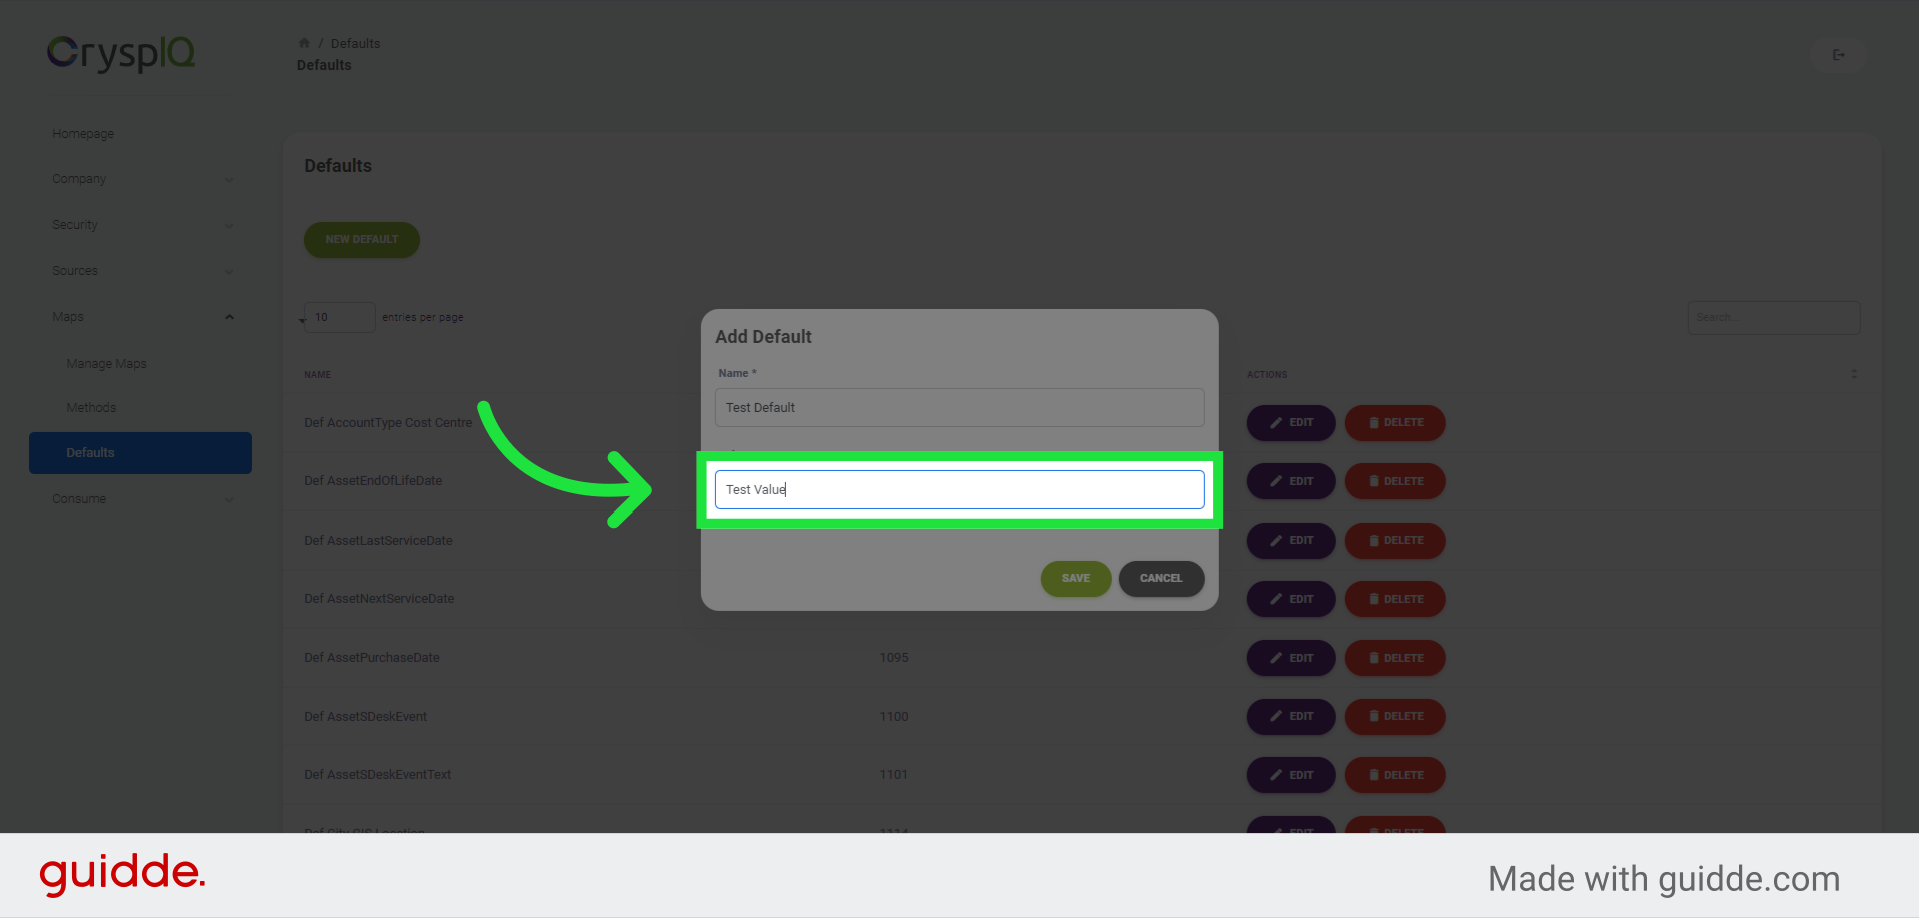
7. Enter a value for the Default
Now enter a value for the default.
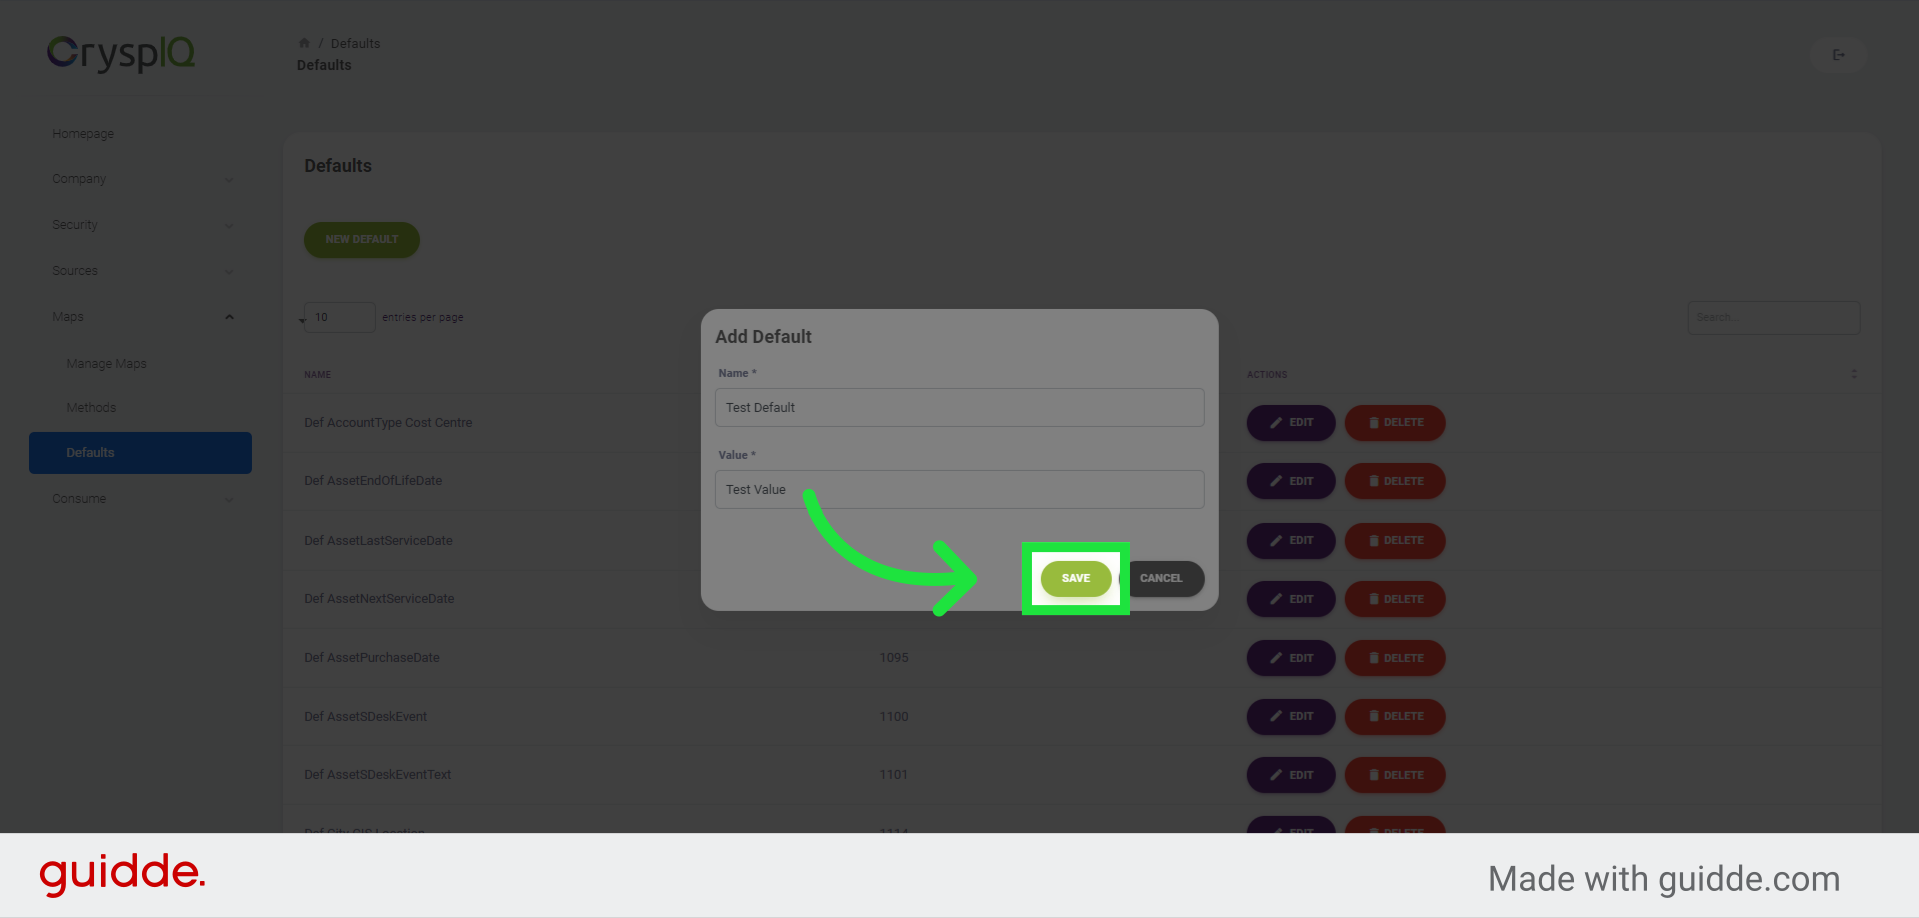
8. Create the Default
To create the Default, click on the "Save" button.
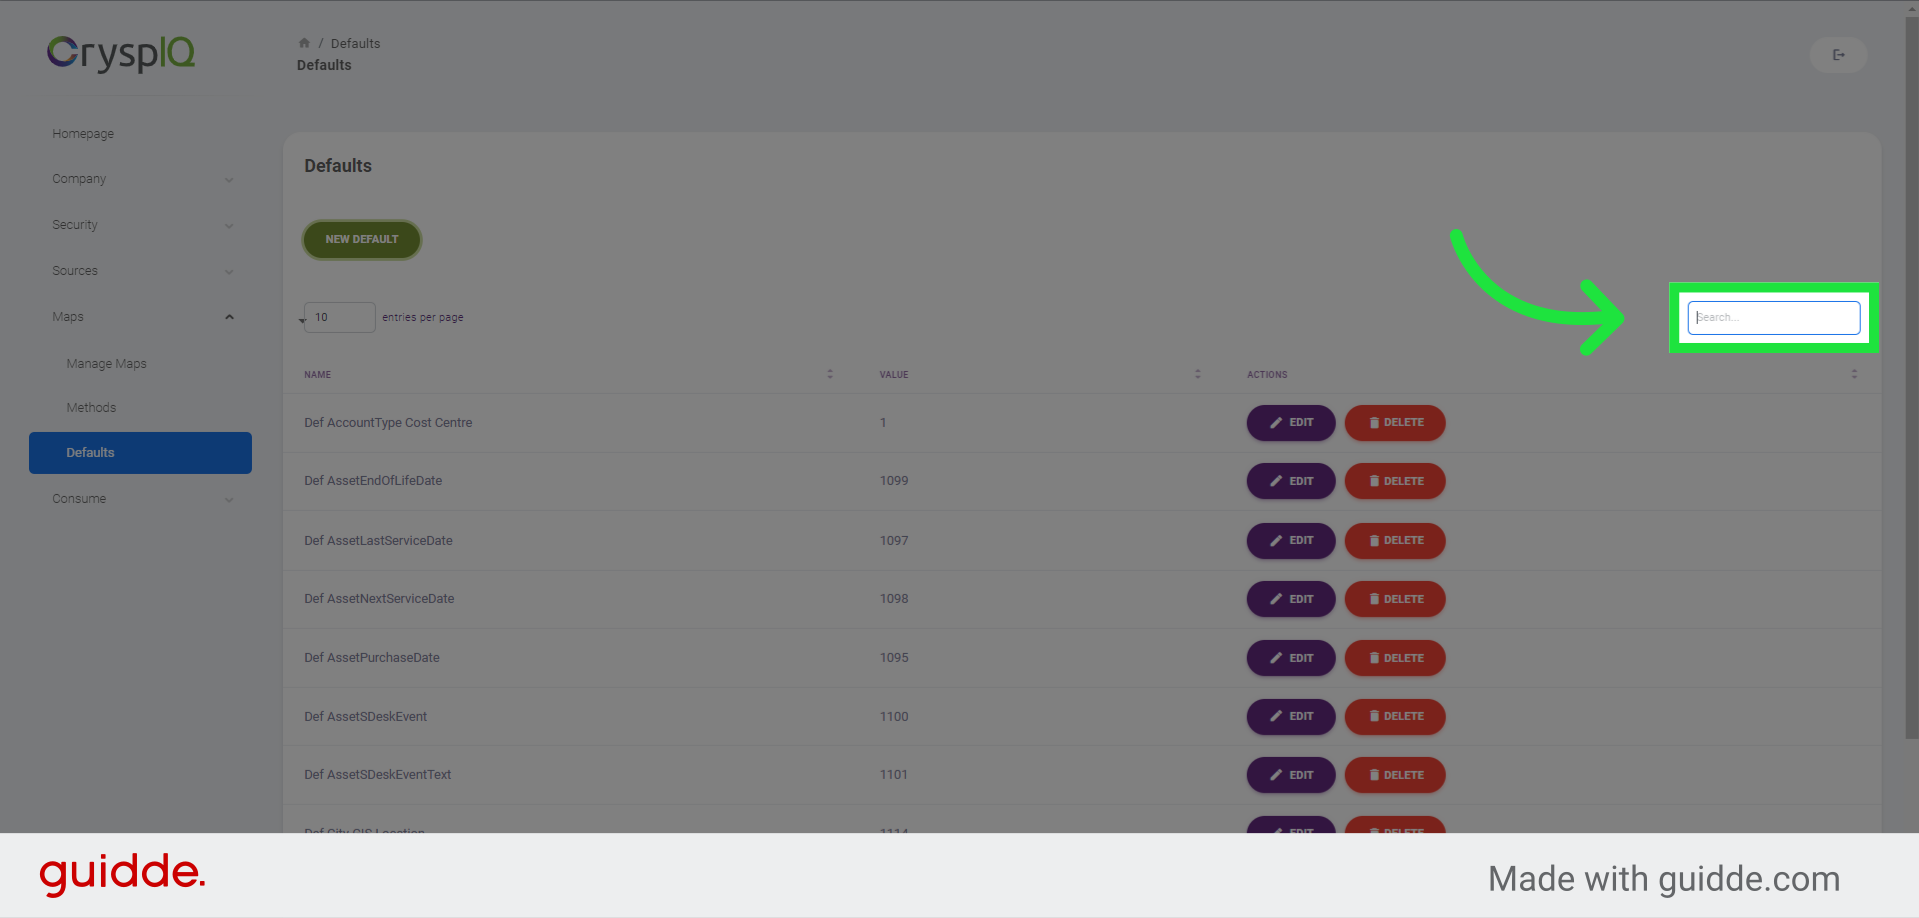
9. Find your Default
To find the default you have just created, navigate to the "Search" section in the top right hand part of the page.
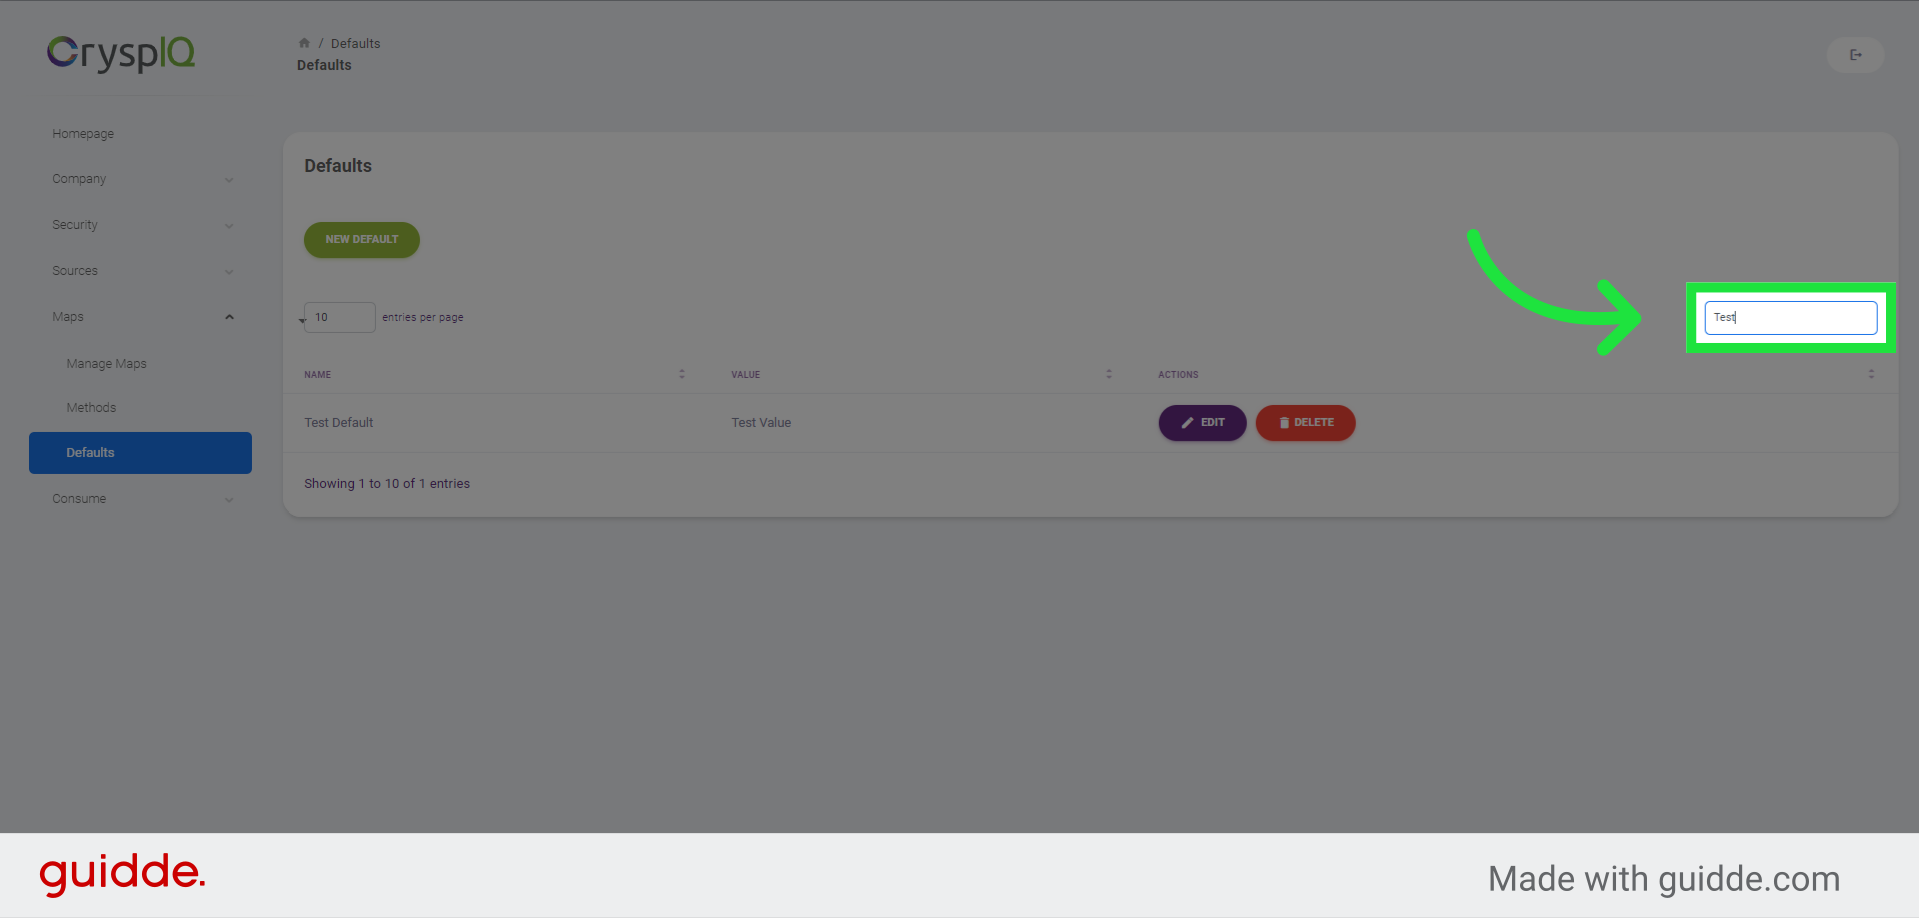
10. Enter the name of the Default to Find
Enter the name of the Default to Find, and you will see the list update.
This guide covered the steps to Defaults in Crysp IQ.