Role Management
This guide will walk you through the steps to create roles in Crysp IQ, ensuring the security of your software as a service application.
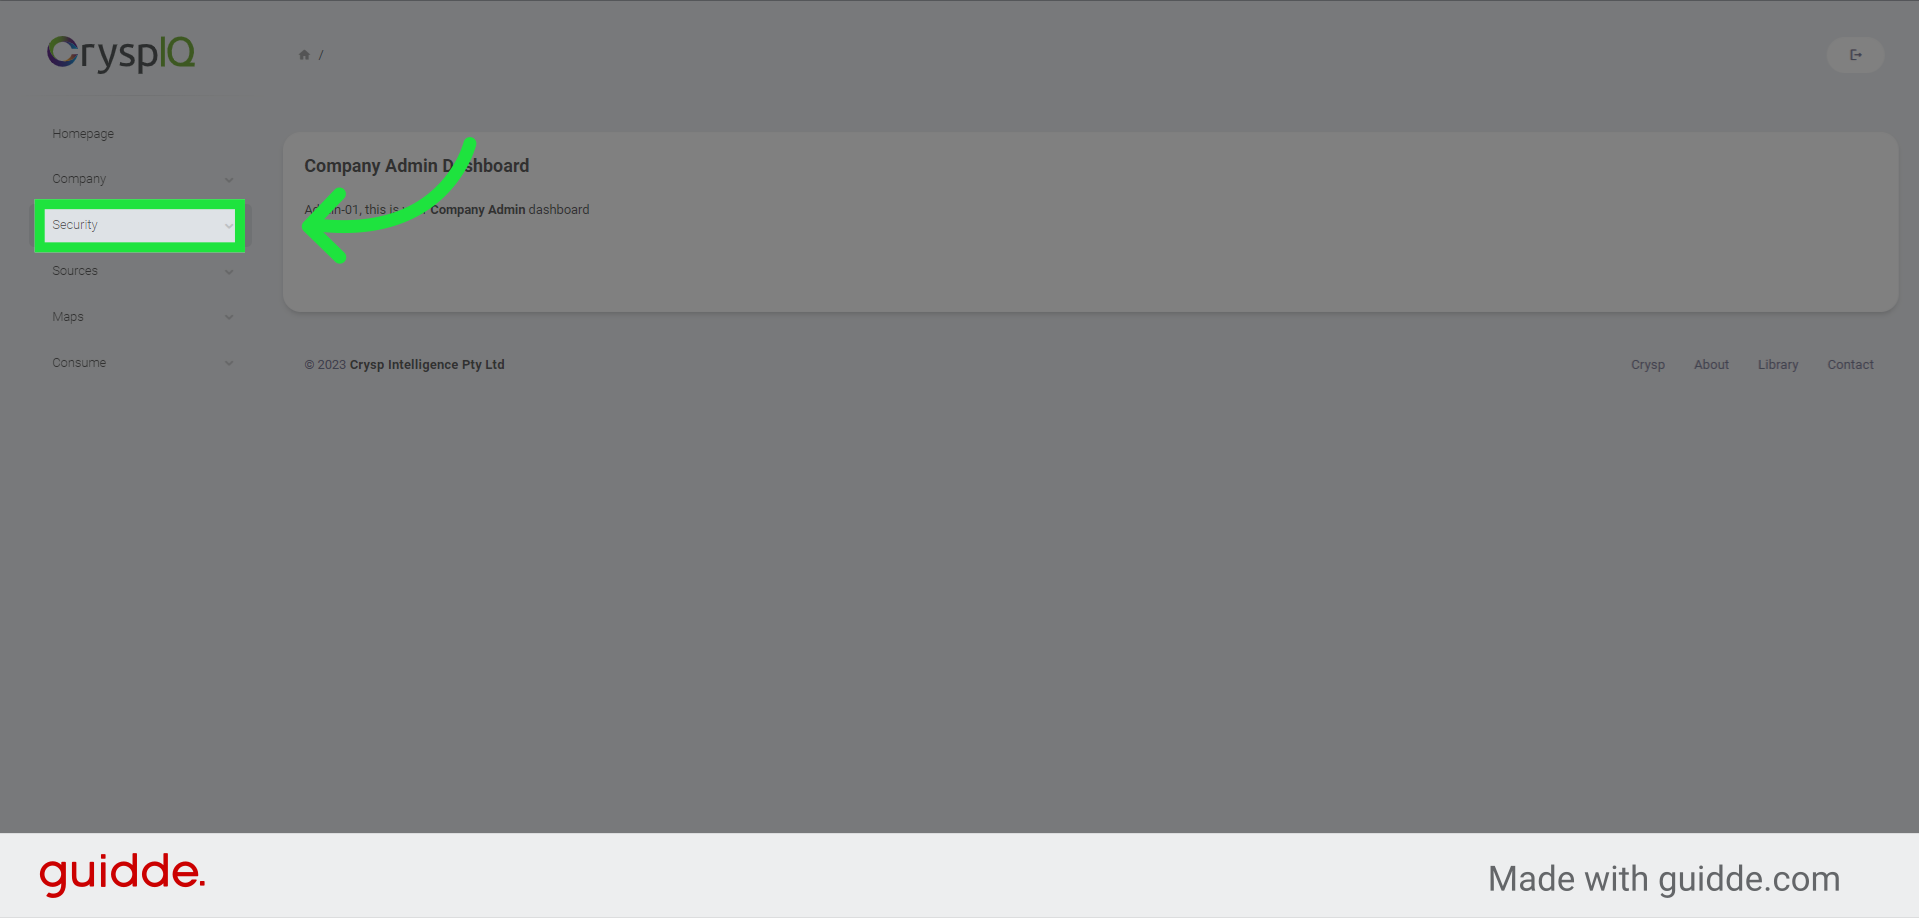
1. Click "Security"
Start by selecting the "Security" menu item
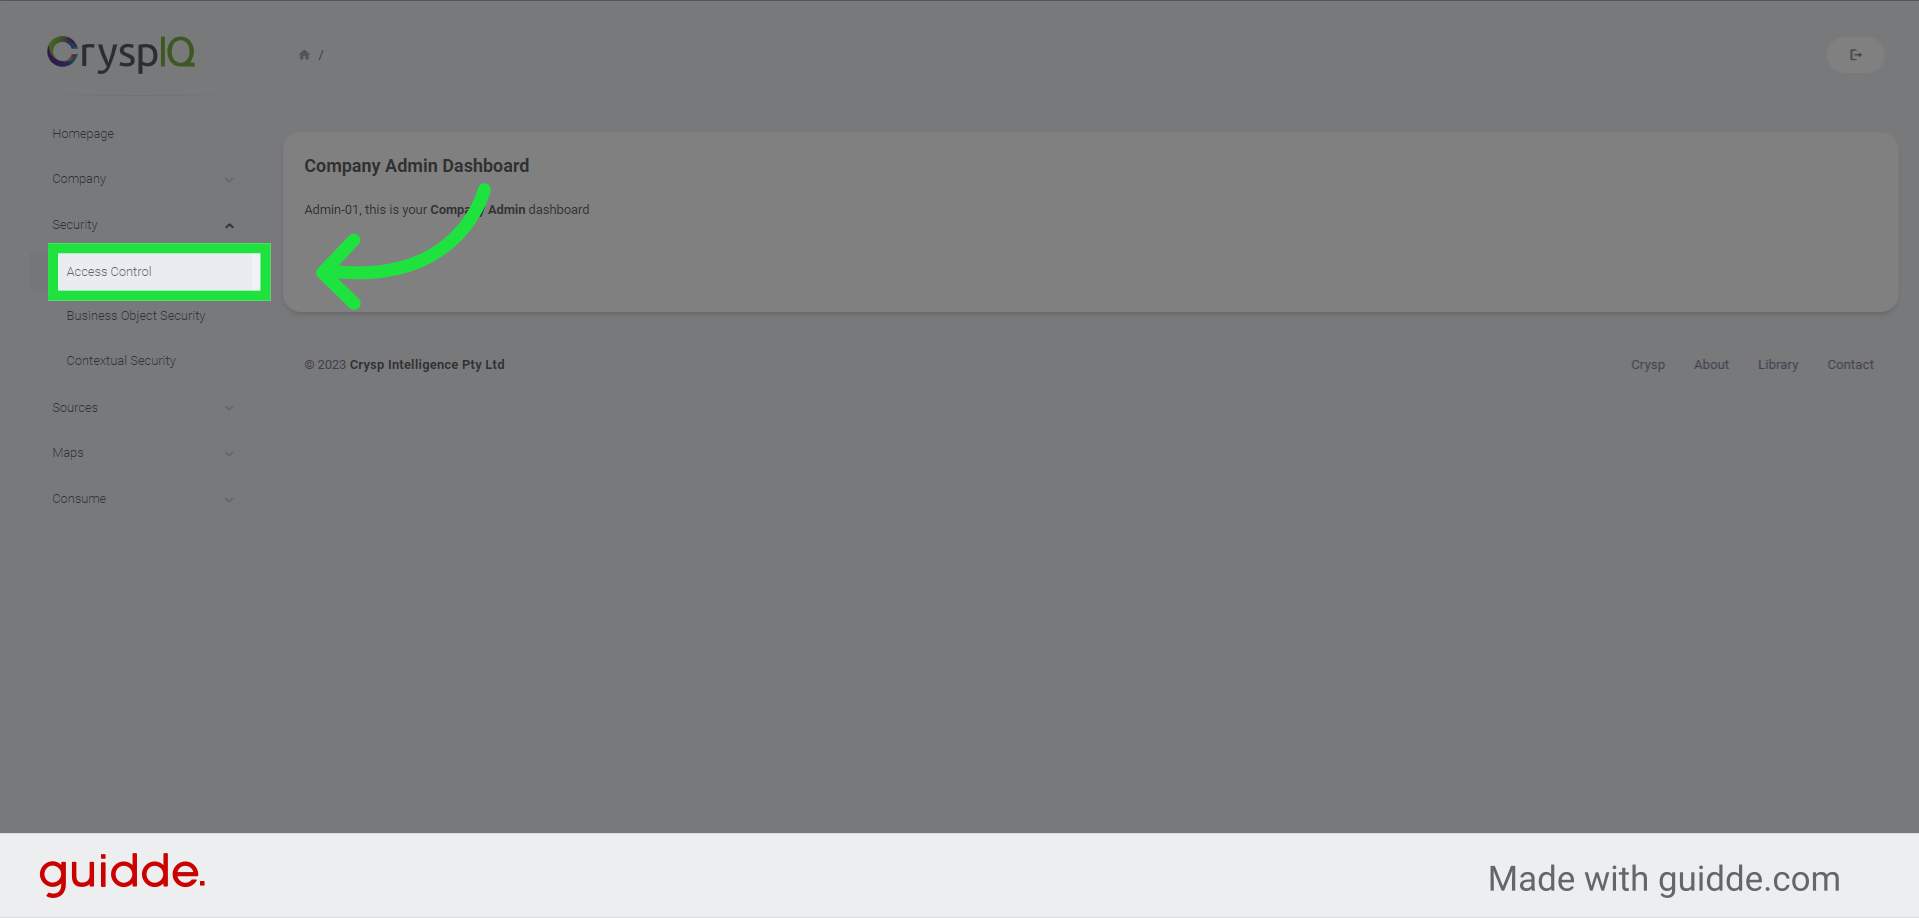
2. Click "Access Control"
Navigate to the "Access Control" option.
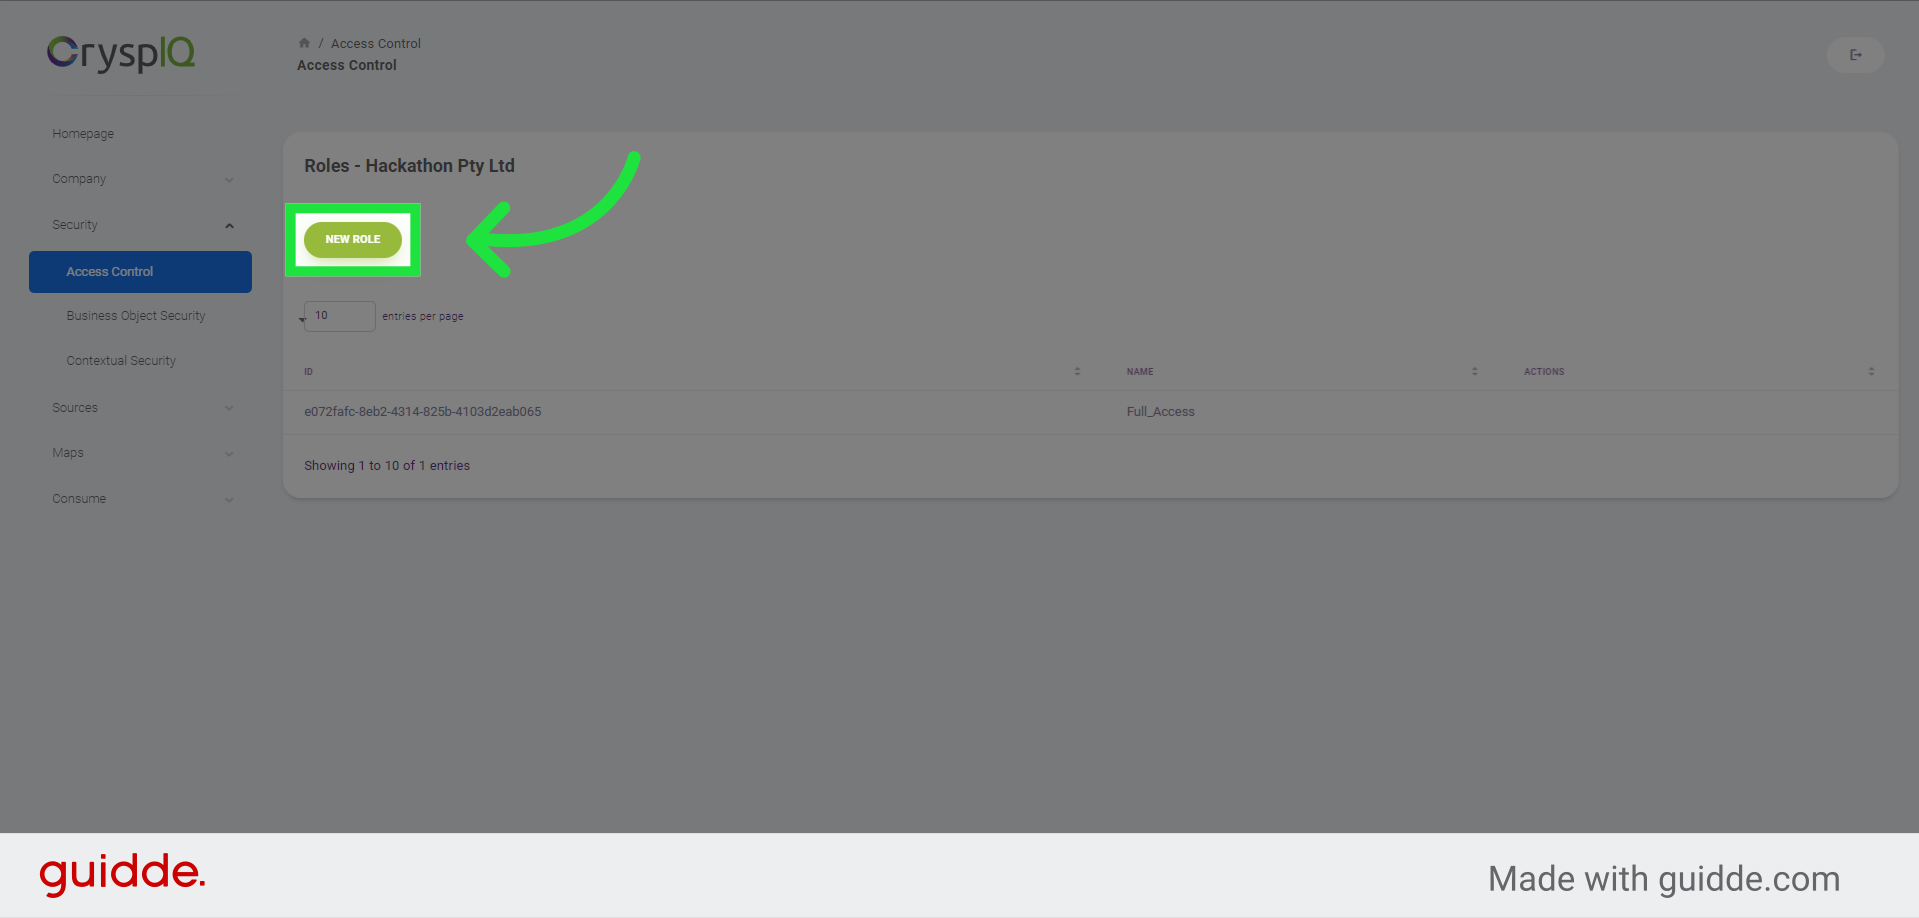
3. Click "New Role"
Create a new role by clicking on the "New Role" button.
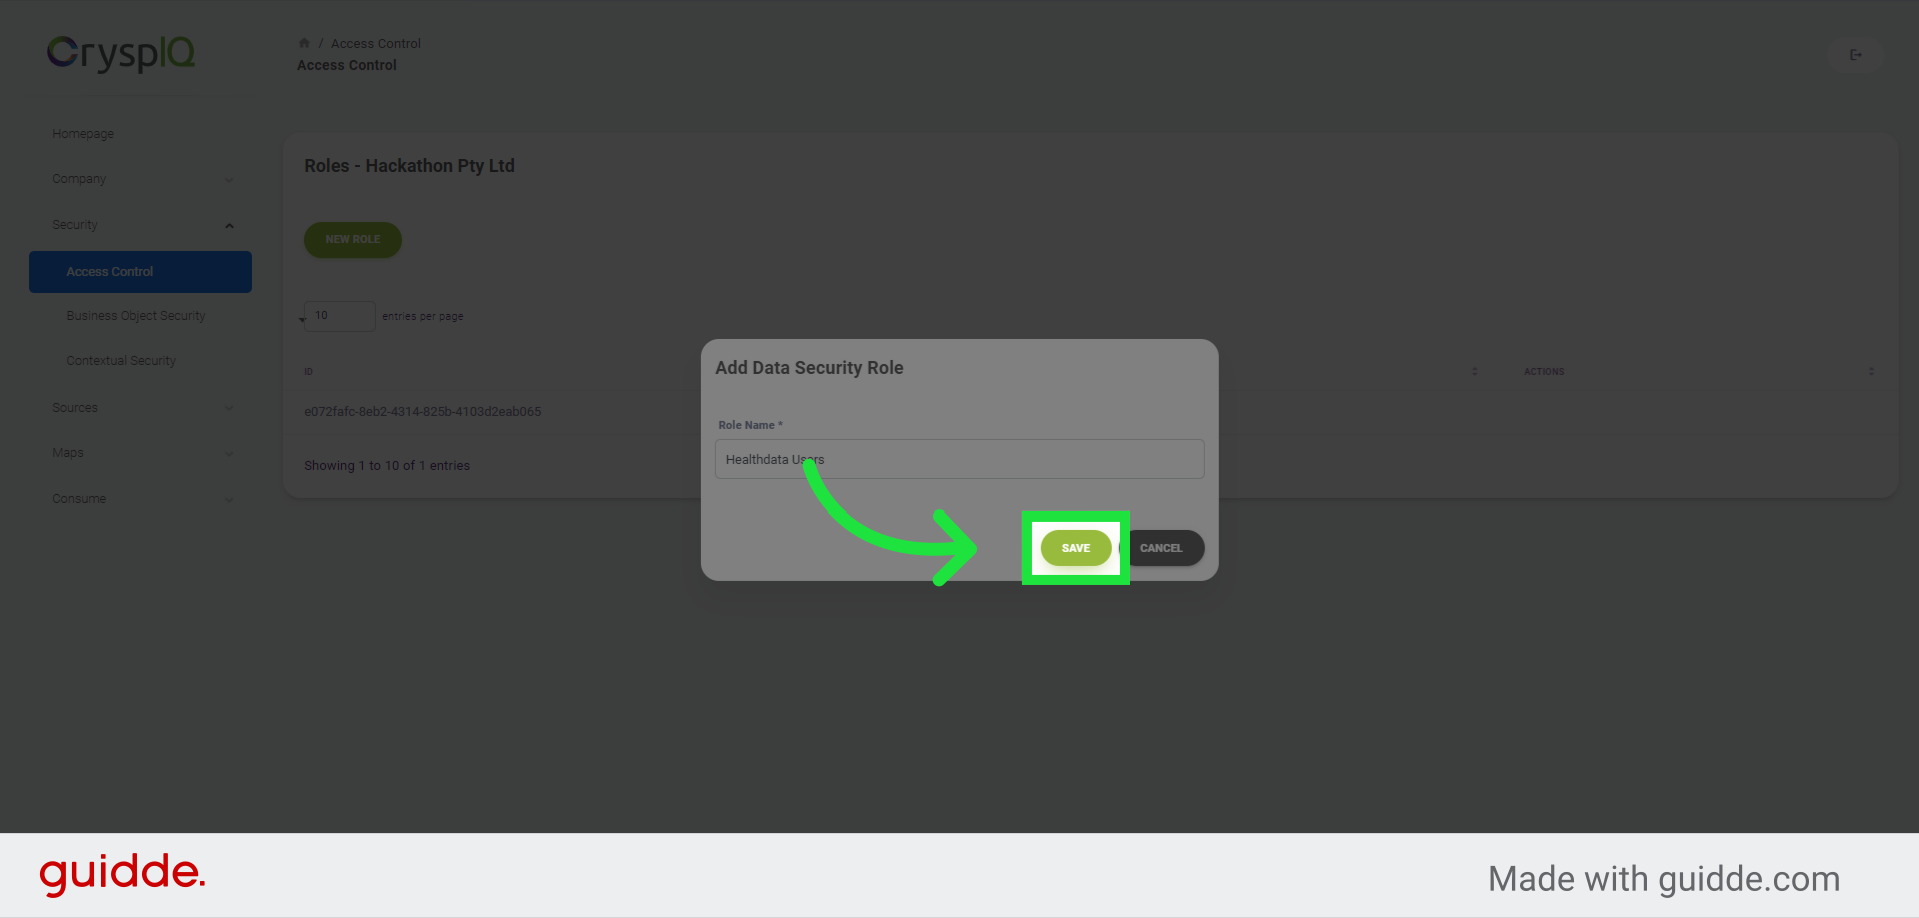
4. Enter a role name
Now, enter a name for the role. In this example we will enter the name "Healthdata Users".
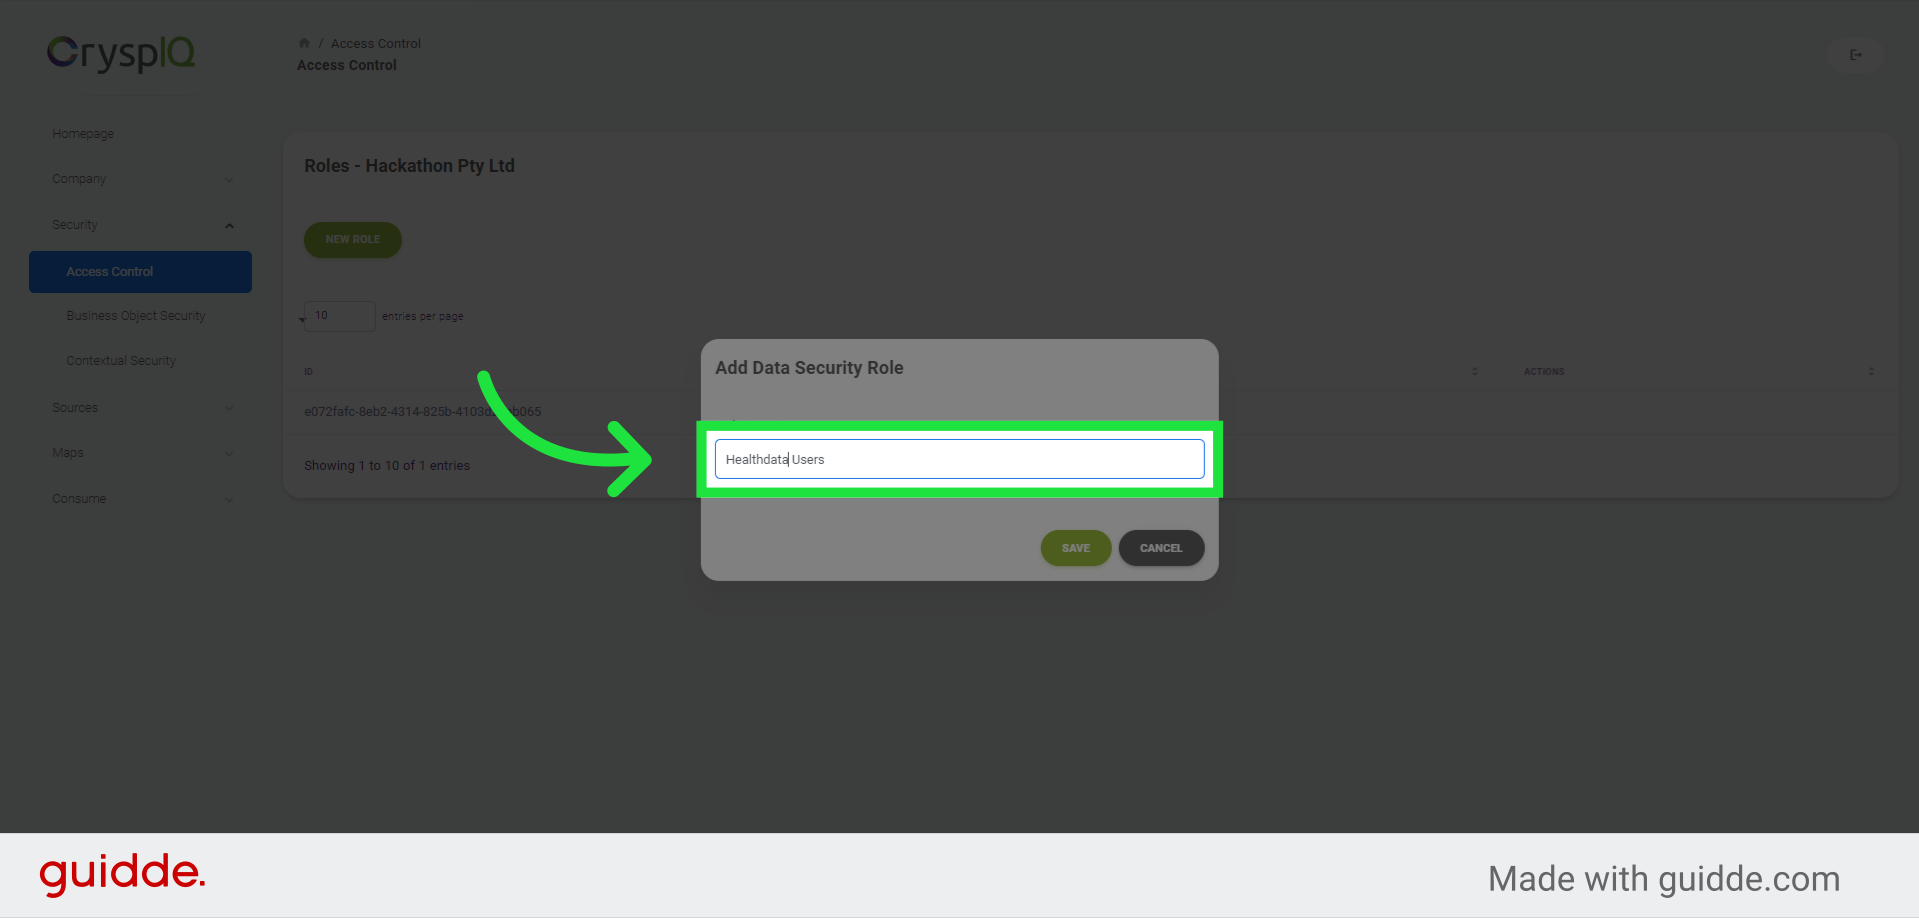
5. Click "Save"
Save the changes by clicking the "Save" button.
In this guide, we covered the process of creating roles in Crysp IQ.